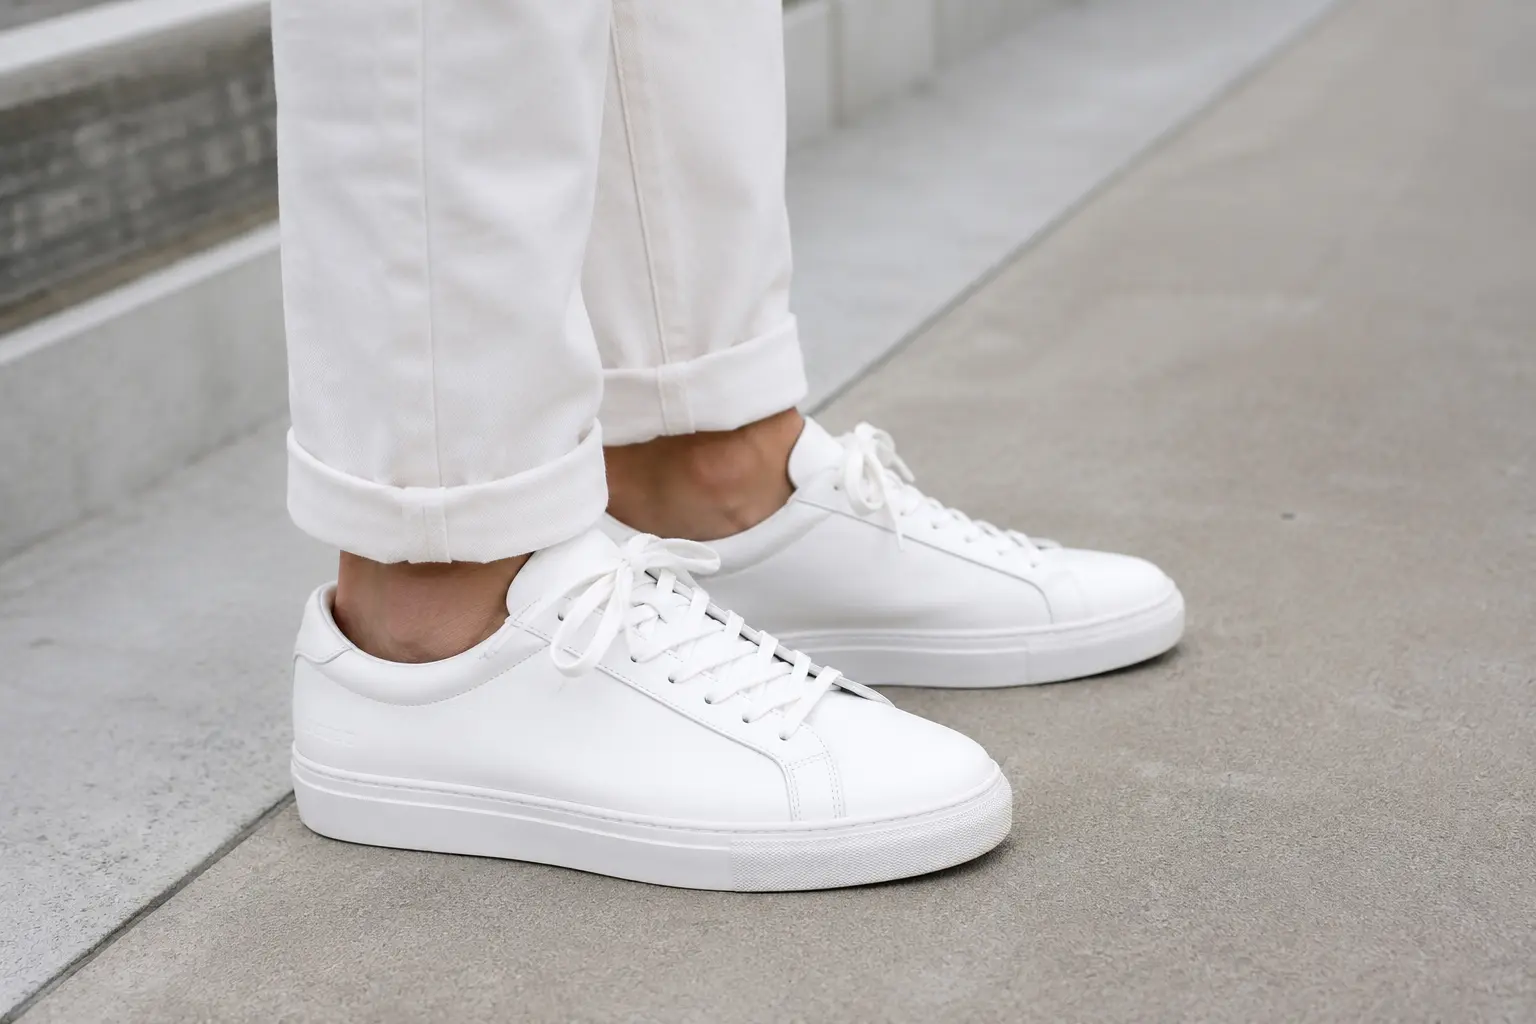
Winter is not subtle. It is slush, sidewalk salt, surprise puddles, and that one moment you step off the curb and immediately regret your life choices. If you have invested in a beautiful pair of leather boots, you deserve to wear them without watching them slowly get wrecked by December.
Good news: protecting leather in winter is less about fancy products and more about a simple rhythm. Prevent, wipe down, dry correctly, condition, repeat. I promise it is easier than it sounds, and it can keep your boots looking like new (or at least like themselves) for years.
One quick expectation check: most “waterproofing” for leather is really water resistance. You are adding a barrier that helps water bead and buys you time. It is not a force field.
What salt and snow do
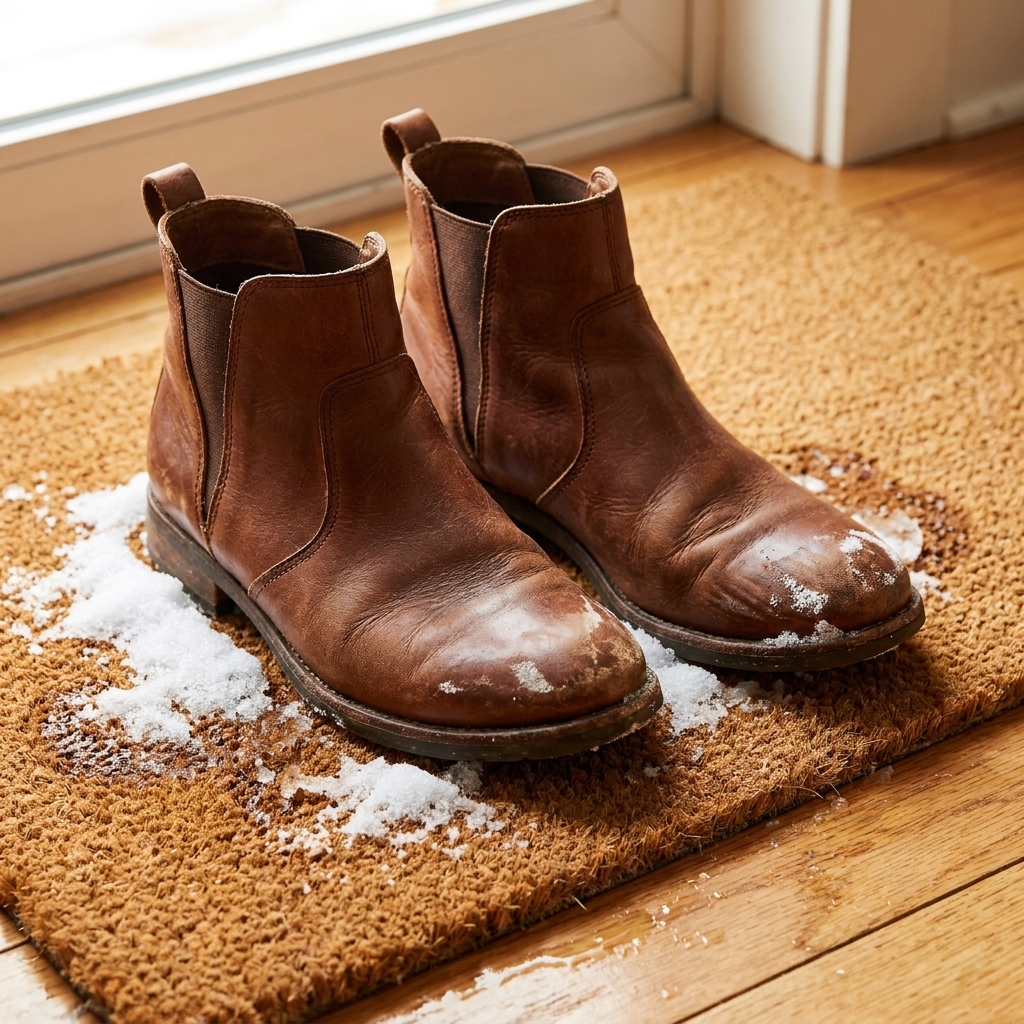
Salt is drying. Snow and slush soak in. Together, they pull moisture out of leather, leave chalky white marks, and can stiffen the upper until it starts to crack, especially around flex points like the toe box and ankle.
- Salt stains show up as white rings or cloudy patches after wet boots dry.
- Water exposure can cause stiffness, dullness, and in some leathers, dark water spots.
- Heat drying (radiators, hair dryers) can cause stiffening, cracking, and shape distortion. It can also soften adhesives and deform soles.
The goal is to keep moisture controlled and replace the oils leather naturally needs to stay flexible.
Before you wear them
If you do nothing else, do this at the beginning of the season and then touch up as needed. Think of it like skincare: a little barrier work saves you from a big repair job later.
Step 1: Clean them first (yes, even if they look clean)
Waterproofers and waxes seal in whatever is on the surface. If you seal in grime, you are basically laminating the problem.
- Brush off dust with a horsehair brush or a soft cloth.
- Wipe with a slightly damp cloth and let dry fully.
Step 2: Choose the right protector
Different finishes like different products. When in doubt, patch test on an inside seam, and be extra cautious with aniline or unfinished leather, which stains more easily and darkens with moisture.
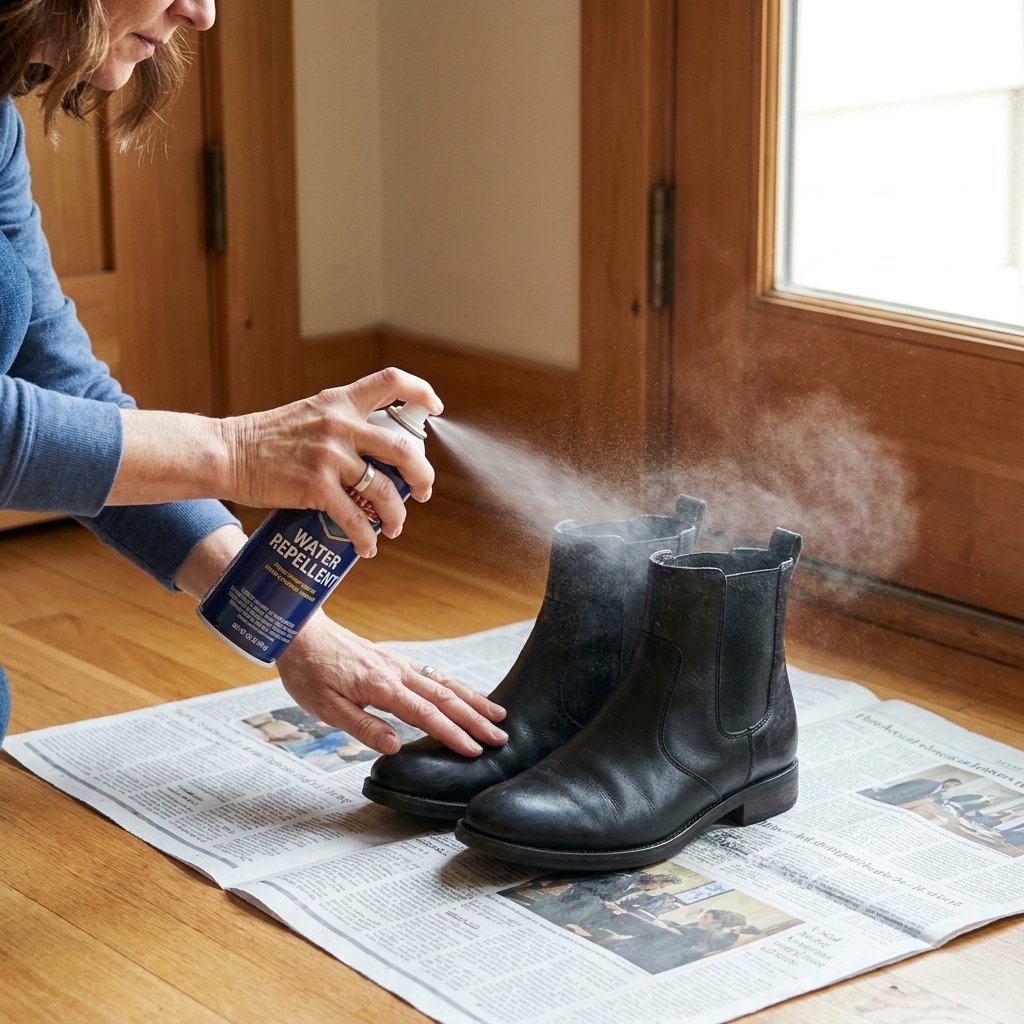
- Smooth leather: a cream conditioner first, then a wax-based protector (think beeswax-based balm) or a silicone-free water repellent designed for leather.
- Suede or nubuck: use a suede-safe water and stain repellent spray (look for fluorocarbon-free options if you prefer). Avoid traditional oils and waxes.
- Patent leather: skip heavy waterproofers. Use a patent cleaner and wipe dry after wear.
Step 3: Apply thin, even layers
- Work in a ventilated area.
- Apply product lightly, build up if needed.
- Let it cure fully before wearing, usually overnight.
The after-wear habit
The biggest difference between boots that last and boots that look tired by January is what you do in the first two minutes after you come inside.
Do this every time you hit salt or slush
- Wipe immediately: Use a damp cloth to remove salt and dirty water before it dries.
- Brush the welt: That seam where upper meets sole holds salty grit. A soft toothbrush works.
- Let them breathe: Unzip, unlace, open them up so moisture can escape.
If you are a “kick them off by the door and collapse” person, keep a small boot kit in your entryway: a cloth, a soft brush, and a little tray. Future you will feel so cared for.
Dry wet boots safely
Drying is where most accidental damage happens. Leather hates fast heat. It wants slow and steady.
Step-by-step safe drying
- Remove insoles if they come out. (If your boots are shearling-lined or heavily insulated, give them extra time and airflow. They hold moisture.)
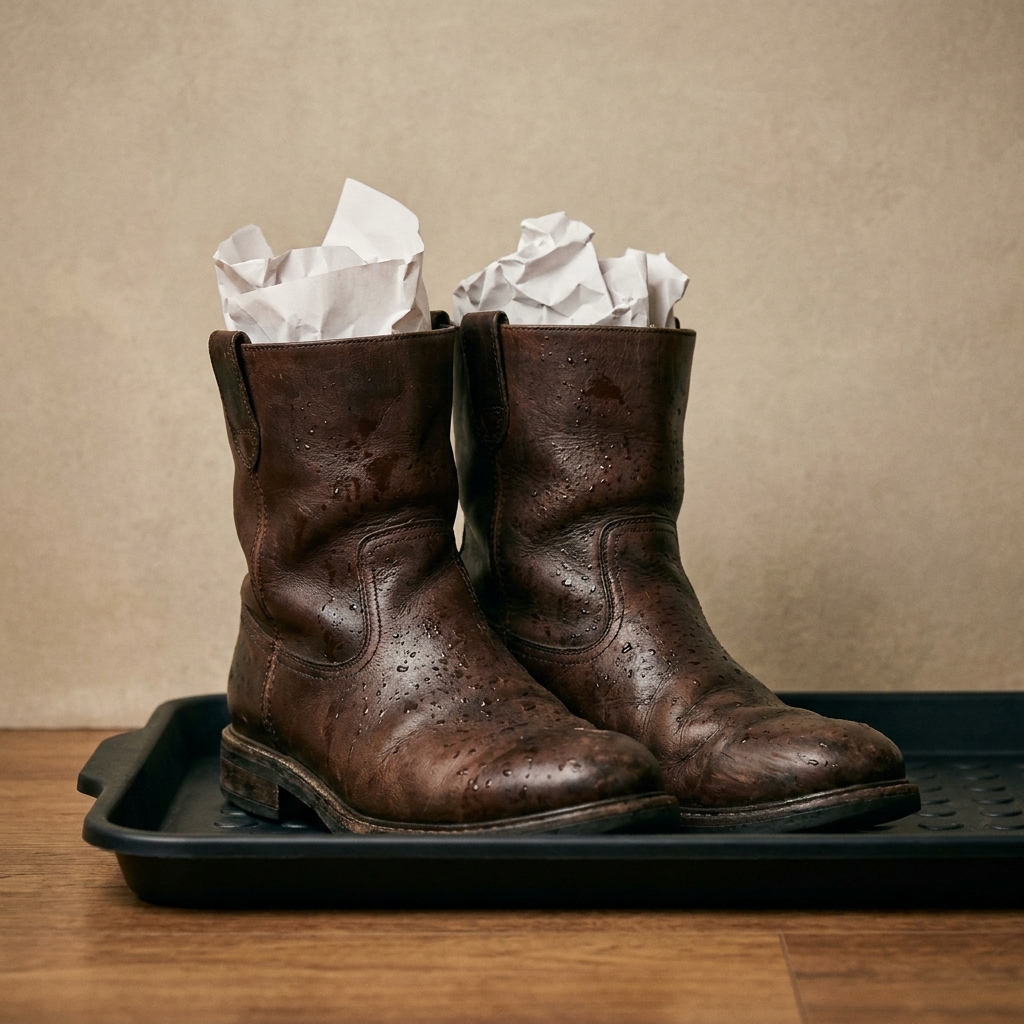
- Stuff the boots with paper to hold shape and pull moisture out. Plain paper or unprinted paper towels are best. Avoid glossy magazine pages that can transfer ink.
- Replace the stuffing after 30 to 60 minutes if it is damp.
- Air dry at room temperature away from heaters and direct sun.
Skip: radiators, vents, hair dryers, ovens, and leaving them in a hot car. All of those can lead to cracking, distortion, or curling soles.
Remove salt stains
If you have ever watched white marks bloom across leather as it dries, you have met salt migration. The fix is gentle and a little repetitive.
What you need
- Two soft cloths
- Small bowl
- Water
- White vinegar (optional but effective)
- Leather conditioner
Method A: plain water (best for delicate finishes)
- Lightly dampen a cloth with water. It should not be dripping.
- Wipe the entire panel, not just the stain, to avoid a tide line.
- Let dry naturally.
- Repeat if needed.
Method B: vinegar solution (for stubborn white rings)
Vinegar helps dissolve salt residue. Use it sparingly.
- Mix one part white vinegar with two parts water.
- Dampen a cloth in the solution and wring it out well.
- Wipe the stained area and feather outward.
- Let boots air dry fully.
- Condition afterward to restore suppleness.
Important: Do not soak leather. And always patch test, especially on dyed, aniline, or very glossy finishes.
Deep clean after storms
If your boots went through a full slush situation, a deeper clean helps remove grime that can dry out leather over time.
Step-by-step deep clean
- Brush off dried dirt once the boots are dry.
- Use a leather cleaner (a dedicated leather cleaner is the safest default). If you use saddle soap, use it sparingly, avoid delicate or aniline finishes unless the maker recommends it, and plan to condition afterward.
- Work in circles with a damp cloth, focusing on the toe, heel, and seams.
- Wipe away residue with a clean, slightly damp cloth.
- Air dry completely.
- Condition to replace moisture and flexibility.
- Re-protect with your winter barrier product.
If you only do one “big reset” a month in winter, make it: clean, dry, condition, protect. It is the wardrobe equivalent of changing your sheets.
Conditioning prevents cracks
Salt and indoor heat pull oils out of leather. Conditioning replaces that softness so the leather bends instead of breaks.
How often to condition
- Light wear: every 4 to 6 weeks
- Heavy wear or frequent salt exposure: every 2 to 3 weeks
- After any vinegar cleaning: always condition
How to condition without overdoing it
- Use a small amount. A pea-sized amount often covers one boot.
- Work it in with a cloth, then let it absorb.
- Buff lightly for a soft sheen.
Over-conditioning can make leather feel gummy and attract dirt, so think “nourish,” not “marinate.”
Suede and nubuck
Suede is winter-wearable, but it needs different care. The trick is proactive protection and gentle brushing.
Suede winter care basics
- Protect first: Use a suede-specific water and stain repellent spray. Reapply every few weeks in winter.
- Dry brush regularly: A suede brush lifts nap and removes surface salt before it sets.
- Spot clean carefully: Use a suede eraser or a clean pencil eraser for scuffs.
- For salt marks: Lightly dab with a cloth dampened with water, then brush once dry.
Avoid traditional oils, conditioners, and waxes on suede. They flatten the texture and can permanently darken it. (If you are considering a specialty suede conditioner, patch test first and follow the product directions exactly.)

Small upgrades
These are the not-so-glamorous details that save your boots, especially if you walk a lot.
- Add a rubber sole protector or ask a cobbler for a thin topy sole. It improves grip and slows wear.
- Replace heel taps early. Worn heels change your gait and can damage the whole sole.
- Rotate pairs if you can. Leather needs time to fully dry out between wears.
- Use shoe trees for tall boots and structured ankle boots to prevent creasing from drying misshapen.
Quick troubleshooting
My boots look dull after cleaning
They likely need conditioner, then a light buff. Cleaning removes grime, but it can also strip surface oils that create that healthy glow.
There is a dark water spot on the toe
Try lightly wiping the whole toe area with a barely damp cloth to even out the moisture, then let air dry. Once dry, condition. If it persists, a leather cleaner can help.
The leather feels stiff
Condition, let it absorb overnight, and flex the boot gently by hand the next day. If stiffness came from heat drying, it may take a couple of light conditioning sessions.
The salt stain keeps coming back
That is salt wicking from seams and edges. Clean again, making sure to wipe the welt and stitching lines, then condition and re-protect.
When should I see a cobbler?
If you notice deep cracks, sole separation (delamination), a persistent salt line that will not lift, or a heel that is wearing unevenly, get help early. Small fixes are faster and cheaper than a full rescue.
Winter care schedule
If you like checklists, this is the low-effort rhythm I recommend for real life.
- After salty or wet wear: wipe down, brush welt, air dry
- Weekly: quick brush and buff
- Every 2 to 6 weeks: condition (more often if you are out in slush daily)
- Monthly or after major storms: deep clean, condition, re-protect
Leather boots are one of those wardrobe pieces that truly get better with care. Not “precious, never wear them” care. The kind that lets you wear them hard, then bring them back to life like nothing happened. That, to me, is real luxury.