I will never forget the first time I turned a too-big thrifted men’s blazer into something I actually wanted to wear. I was a teen at my grandmother’s sewing machine, convinced I could "just take it in a little." It was not perfect. It was, however, mine, and it taught me the most important rule of great style: you do not need a bigger budget, you need better ideas.
Below are five easy upcycles that make older, outdated, or slightly damaged pieces feel current again. Each one is designed to be doable with basic tools, a little patience, and a willingness to try. You have my permission to make it messy on the first pass.
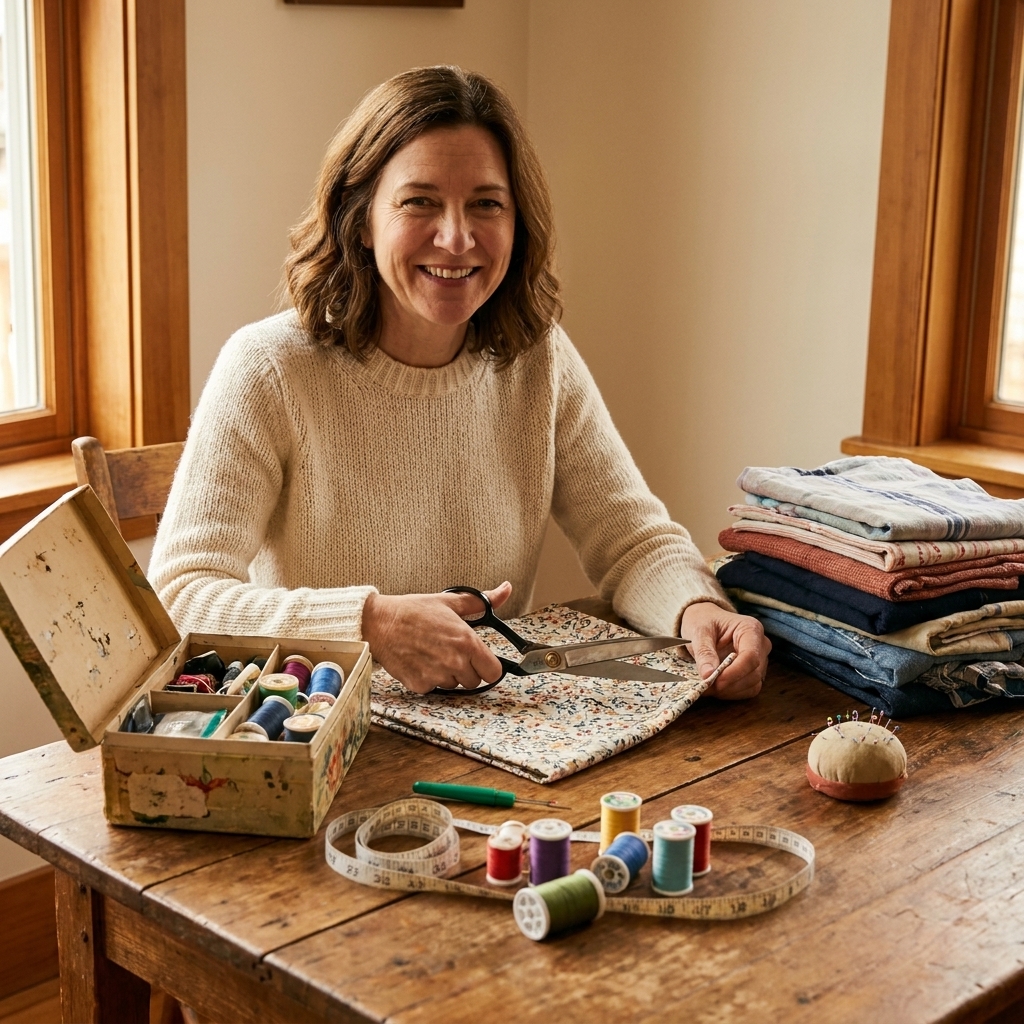
Before you start: a tiny tool checklist
You can do most of these with what you already have. If you are buying anything, start here.
- Sharp fabric scissors (paper scissors will chew your fabric)
- Seam ripper for clean, controlled undoing
- Measuring tape and tailor’s chalk or a washable marker
- Iron (pressing is half the difference between “DIY” and “wow”)
- Needle and thread or a basic sewing machine
- Safety pins for quick fit tests
- Optional but helpful: Fray Check or clear fabric glue, plus a handful of clips or extra pins
Clara’s fit tip: Do a quick try-on and pin first, then move to cutting. Fabric is much easier to remove than to put back.
Quick safety note: Cut on a flat surface with good light, keep fingers clear of the blades, and let the iron fully rest on the board before you walk away.
1) Turn an old blazer into a sharp vest
If you have a blazer with dated shoulder pads, frayed cuffs, or a fit that feels slightly off, this is your glow-up. A tailored vest gives that modern, styled energy over a tee, a button-down, or even a slip dress.
Time: 45 to 90 minutes. Skill: beginner with patience.

What you need
- Blazer (slightly oversized works best)
- Seam ripper
- Needle and thread or sewing machine
- Iron
- Optional: bias tape, or sleeve fabric to make a simple facing
- Optional: 1 hook-and-eye closure or a single statement button
Steps
- Remove the sleeves. Use a seam ripper to detach them at the armhole seam. Go slowly so you do not tear the fabric.
- Deal with the lining (most blazers are lined). Once the sleeve is off, you will usually see two layers at the armhole: the outer shell and the lining. Do not try to roll both layers twice like a T-shirt. It gets bulky fast.
- Option A: the clean lined finish (my favorite). Trim any fraying threads. Tuck the shell seam allowance to the inside and tuck the lining edge in so the two folded edges meet each other inside the armhole. Pin or clip all around, easing the curve as you go. Press.
- Stitch the armhole. Hand sew with a backstitch for strength, or use a small whipstitch to join lining to shell. Reinforce at the underarm with a few extra stitches. If machine sewing, edge stitch close to the fold. Go slow around curves.
- Option B: bias binding (great for bulky fabrics). If the blazer fabric is thick (wool, heavy twill), bias binding avoids that lumpy armhole edge. Wrap the raw edge with bias tape and stitch it down, then tack the lining neatly to the binding on the inside.
- Refine the shoulders. If shoulder pads feel bulky, remove them. This single step can make the vest look instantly more current.
- Optional: add closure. A hook-and-eye at the waist creates a sleek line without looking too formal.
How to style it
- Over a fitted white tee with straight-leg jeans and loafers
- Over a crisp button-down with relaxed trousers
- Over a slip dress to make it day-appropriate
Common mistake: Cutting the sleeves off and stopping there. Finishing the armhole edge is what takes this from “crafty” to “tailored.”
Clara’s blazer tip: Press every step, especially the armhole curve. A good press makes a thrift flip look like it came from a rack.
2) Make split-hem jeans from denim you already own
Hem splits are one of my favorite “small change, big payoff” denim tricks. This is perfect for jeans that are slightly too long, a little too tight at the ankle, or just not exciting anymore.
Time: 20 to 40 minutes. Skill: beginner.

What you need
- Jeans
- Chalk or washable marker
- Ruler or measuring tape
- Fabric scissors
- Optional: matching thread to secure the split
Steps
- Try on with shoes. Mark where you want the front hem to hit. Usually this is right at the top of your shoe.
- Mark the back hem. Mark the back about 1/2 to 1 inch longer so it drapes slightly.
- Cut the hems. Take the jeans off, lay flat, and cut straight across using your marks. If your jeans have a thick pre-hem (sometimes a chainstitch), use very sharp shears and cut slowly.
- Create the split (outside seam). Cut up the outside seam 2 to 4 inches from the hem. Start shorter if your denim is stretchy.
- Secure the split top. Add a few tight stitches at the top of the split to keep it from tearing upward over time. A tiny bar tack is perfect if you have a machine, but hand stitches work.
- Control the fray (optional). Raw hems will keep fraying as you wash and wear. If you want controlled fray, sew a straight stitch about 1/4 inch above the cut line before the first wash.
- Wash once. The raw hem will soften and fray in a way that looks intentional.
How to style it
- With ankle boots for a clean break at the hem
- With chunky sneakers and a cropped jacket
- With a kitten heel and a simple tank for that easy polished vibe
Clara’s denim tip: If your jeans are stretchy, keep the split shorter. Stretch denim can “travel” more and rip higher if it is stressed.
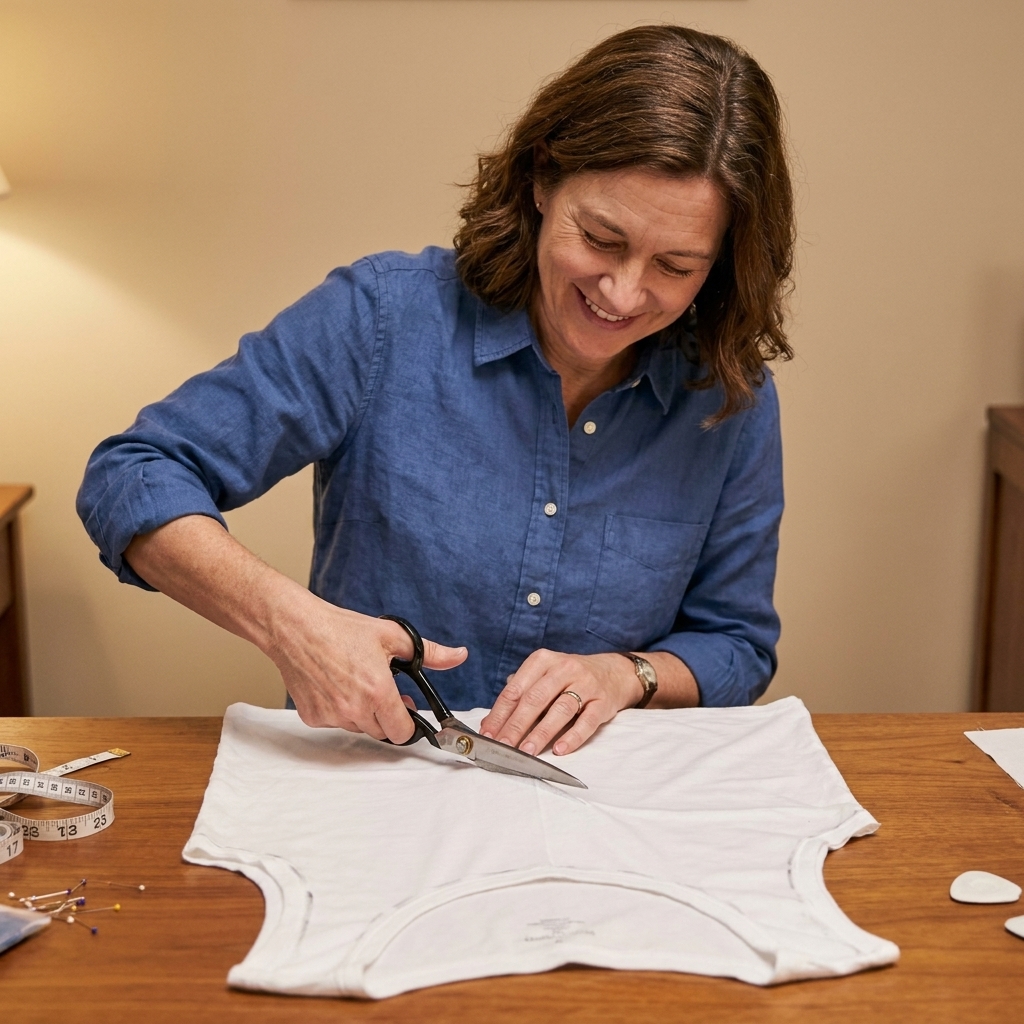
3) Convert a worn-out tee into a clean tank
We all have that T-shirt. The one that is too sentimental to toss, too faded to wear out, and somehow always ends up in the laundry again. Turning it into a tank gives it a second life and makes it feel intentionally casual.
Time: 15 to 30 minutes. Skill: absolute beginner.
What you need
- Oversized or regular T-shirt
- Chalk
- Fabric scissors
- Optional: a tank you love for tracing
- Optional: iron-on hem tape if you do not want to sew
Steps
- Wash and dry first (if it is new-ish). Cotton likes to shrink when it feels like it. Pre-shrink now, not after you cut the perfect neckline.
- Pick your silhouette. Do you want a classic crew tank, a racerback, or a slightly scooped neckline? Lay a favorite tank on top and trace around it.
- Cut the neckline first. Cut a little higher than you think. You can always remove more.
- Cut the armholes. Start conservatively. Wide armholes can quickly turn into a side-boob situation.
- Finish the edges. For the easiest option, leave the edges raw. Cotton jersey curls slightly and looks casual-cool. If you want it cleaner, fold and stitch a narrow hem or use hem tape.
- Optional: crop it. A slight crop can make it feel new instantly. Try it with high-rise bottoms.
How to style it
- Half-tucked into pleated trousers with a belt
- With a long skirt and a lightweight cardigan
- Under an open button-down like an easy summer layer
Fit check: Put it on before finishing edges. Lift your arms, sit down, and move around. Comfort is the whole point.
4) Turn a button-down into a tie-front top
A crisp button-down that feels too stiff or too corporate can become the prettiest warm-weather top with a simple tie-front. This works especially well with oversized shirts, men’s shirts, or anything with a slightly boxy cut.
Time: 20 to 45 minutes. Skill: beginner.

What you need
- Button-down shirt
- Chalk and scissors
- Optional: needle and thread for a clean hem
- Optional: Fray Check (very helpful for wovens)
Steps
- Button and mark. Put the shirt on, button it to where you want the tie to start (usually around your natural waist).
- Mark the new length. In front, mark a gentle curve that ends about 2 to 3 inches below the last button you plan to use.
- Cut the hem. Take it off and cut along your curve. Leave the back a touch longer if you want more coverage.
- Create tie tails. Cut a vertical slit up the center front from the new hem to just below the last button and buttonhole you want to keep functional. Stop there. Do not cut into the closure area.
- Reinforce the slit top. Add a few tight stitches across the top of the slit (a mini bar tack) so it does not rip higher over time.
- Finish edges (recommended). Most button-downs are woven and will fray. A narrow hem is the cleanest fix. If you do not want to sew, use Fray Check along the cut edge and press carefully, or use hem tape where it will hold.
How to style it
- Over a ribbed tank or bralette with linen shorts
- With a midi skirt and sandals
- Layered over a slip dress as a light topper
Styling note: If your shirt is sheer, choose a close-to-skin bra or a matching camisole. It reads intentional and elevated.
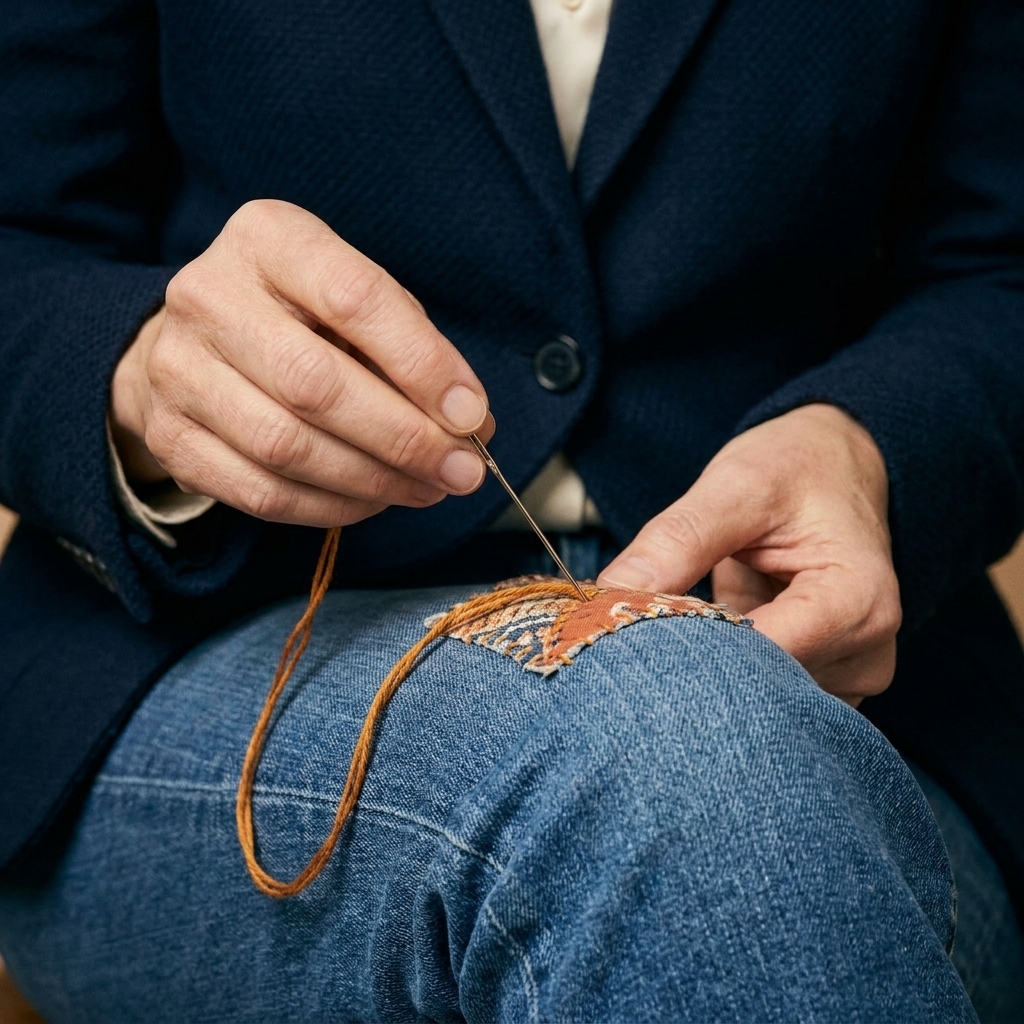
5) Patch or embroider holes like design details
Visible mending is the upcycle that changed how I think about “ruined” clothing. A small hole, knee tear, or thin elbow is not a failure. It is a perfect spot for personality. The goal is not to hide the repair. The goal is to make it look like you bought it that way.
Time: 20 to 60 minutes. Skill: beginner, very forgiving.
What you need
- Garment with a hole or thin area
- Scrap fabric for a patch (denim, cotton, canvas)
- Thread (matching or contrasting)
- Needle and pins
- Optional: iron-on fusible web to hold the patch in place
Steps
- Match your tools to the fabric. Use a sturdier needle and thicker thread for denim. Use a finer needle for lightweight cotton. If you are patching a knit (like a tee), add a little stabilizer or fusible web first so it does not pucker.
- Stabilize the area. Trim loose threads. If the fabric is thin, place a patch behind the hole for strength.
- Pin your patch. Put the patch behind (for subtle) or on top (for bold). Pin securely.
- Stitch it down. Use a basic running stitch, whip stitch, or straight stitches. If the area gets a lot of stress (knees, inner thigh), use smaller stitches and add a few backstitches at the start and end.
- Add a little design. A few extra rows of stitches, a simple star shape, or an outline around the patch edges can make it feel like a detail instead of damage.
- Press when finished. A quick press helps the repair lie flat and look more professional.
Where it looks coolest
- Elbows on sweaters or jackets
- Knees on denim
- Thigh rub on jeans (a very common wear spot)
- Small holes near hems on tees
If you want the easiest “designer” effect, choose one patch fabric and repeat it in two places, like both elbows or two spots on one leg.
How to choose the right upcycle
If you are staring at a closet full of “maybes,” use this quick decision guide.
- Great fabric, weird fit: prioritize tailoring-style upcycles (the blazer vest, the tie-front shirt).
- Good fit, boring shape: go for a detail change (split hem, crop, neckline adjustment).
- Damage in one area: visible mending or patching is your best friend.
- Sentimental item: start with the tee-to-tank. It keeps the essence but makes it wearable.
My sustainability soapbox, gently: The most sustainable piece is the one you will actually wear. If an upcycle makes you reach for it twice as often, that is a win.
Care tips so your upcycles last
- Reinforce stress points. Add a few backstitches at the end of any seam, slit, or split.
- Wash thoughtfully. Turn pieces inside out, use cold water, and air dry when you can. It preserves color and stitches.
- Press after washing. Especially for vests and button-downs, pressing keeps your lines crisp.
- Store smart. Hang structured pieces like the vest. Fold knits and tees to avoid stretching.
FAQ
Do I need a sewing machine for these?
No. You can do all five projects without a machine. Hand stitching works beautifully if you keep stitches small and consistent, and a few spots can be finished with hem tape or controlled raw edges. A sewing machine just makes it faster.
How do I avoid that “homemade” look?
Press your folds, measure both sides, and reinforce stress points. Clean finishing matters most on structured or woven fabrics, like blazers and button-downs.
What if I cut too much?
It happens. Your best recovery tools are a patch, a binding (for necklines and armholes), or turning a mistake into a design choice, like a deeper scoop neck or a slightly more cropped hem.
One last nudge
Upcycling is not about perfection. It is about turning “I guess I should donate this” into “wait, I love this.” Start with the easiest project on this list, wear it out, and let the compliment you get in line for coffee be your proof: personal style has nothing to do with price tags and everything to do with intention.