There is something quietly powerful about a well-kept beard. Not “perfect,” not overly sculpted, just intentional. The kind that frames your face the way a great haircut does, or like my forever favorite: a well-fitted blazer that makes you stand a little taller.
This is my no-drama, barber-inspired routine for trimming and shaping your beard at home. We are going to use the right tools, move in the right order, and avoid the two classic mistakes: trimming too short too fast and setting your neckline too high.
Quick safety note: Start with clean tools. Disinfect your guards and blades, do not share trimmers, and patch-test any new oil or balm if your skin is sensitive.
What you need (and what you can skip)
You do not need a drawer full of gadgets. You need a few reliable basics and a little patience.
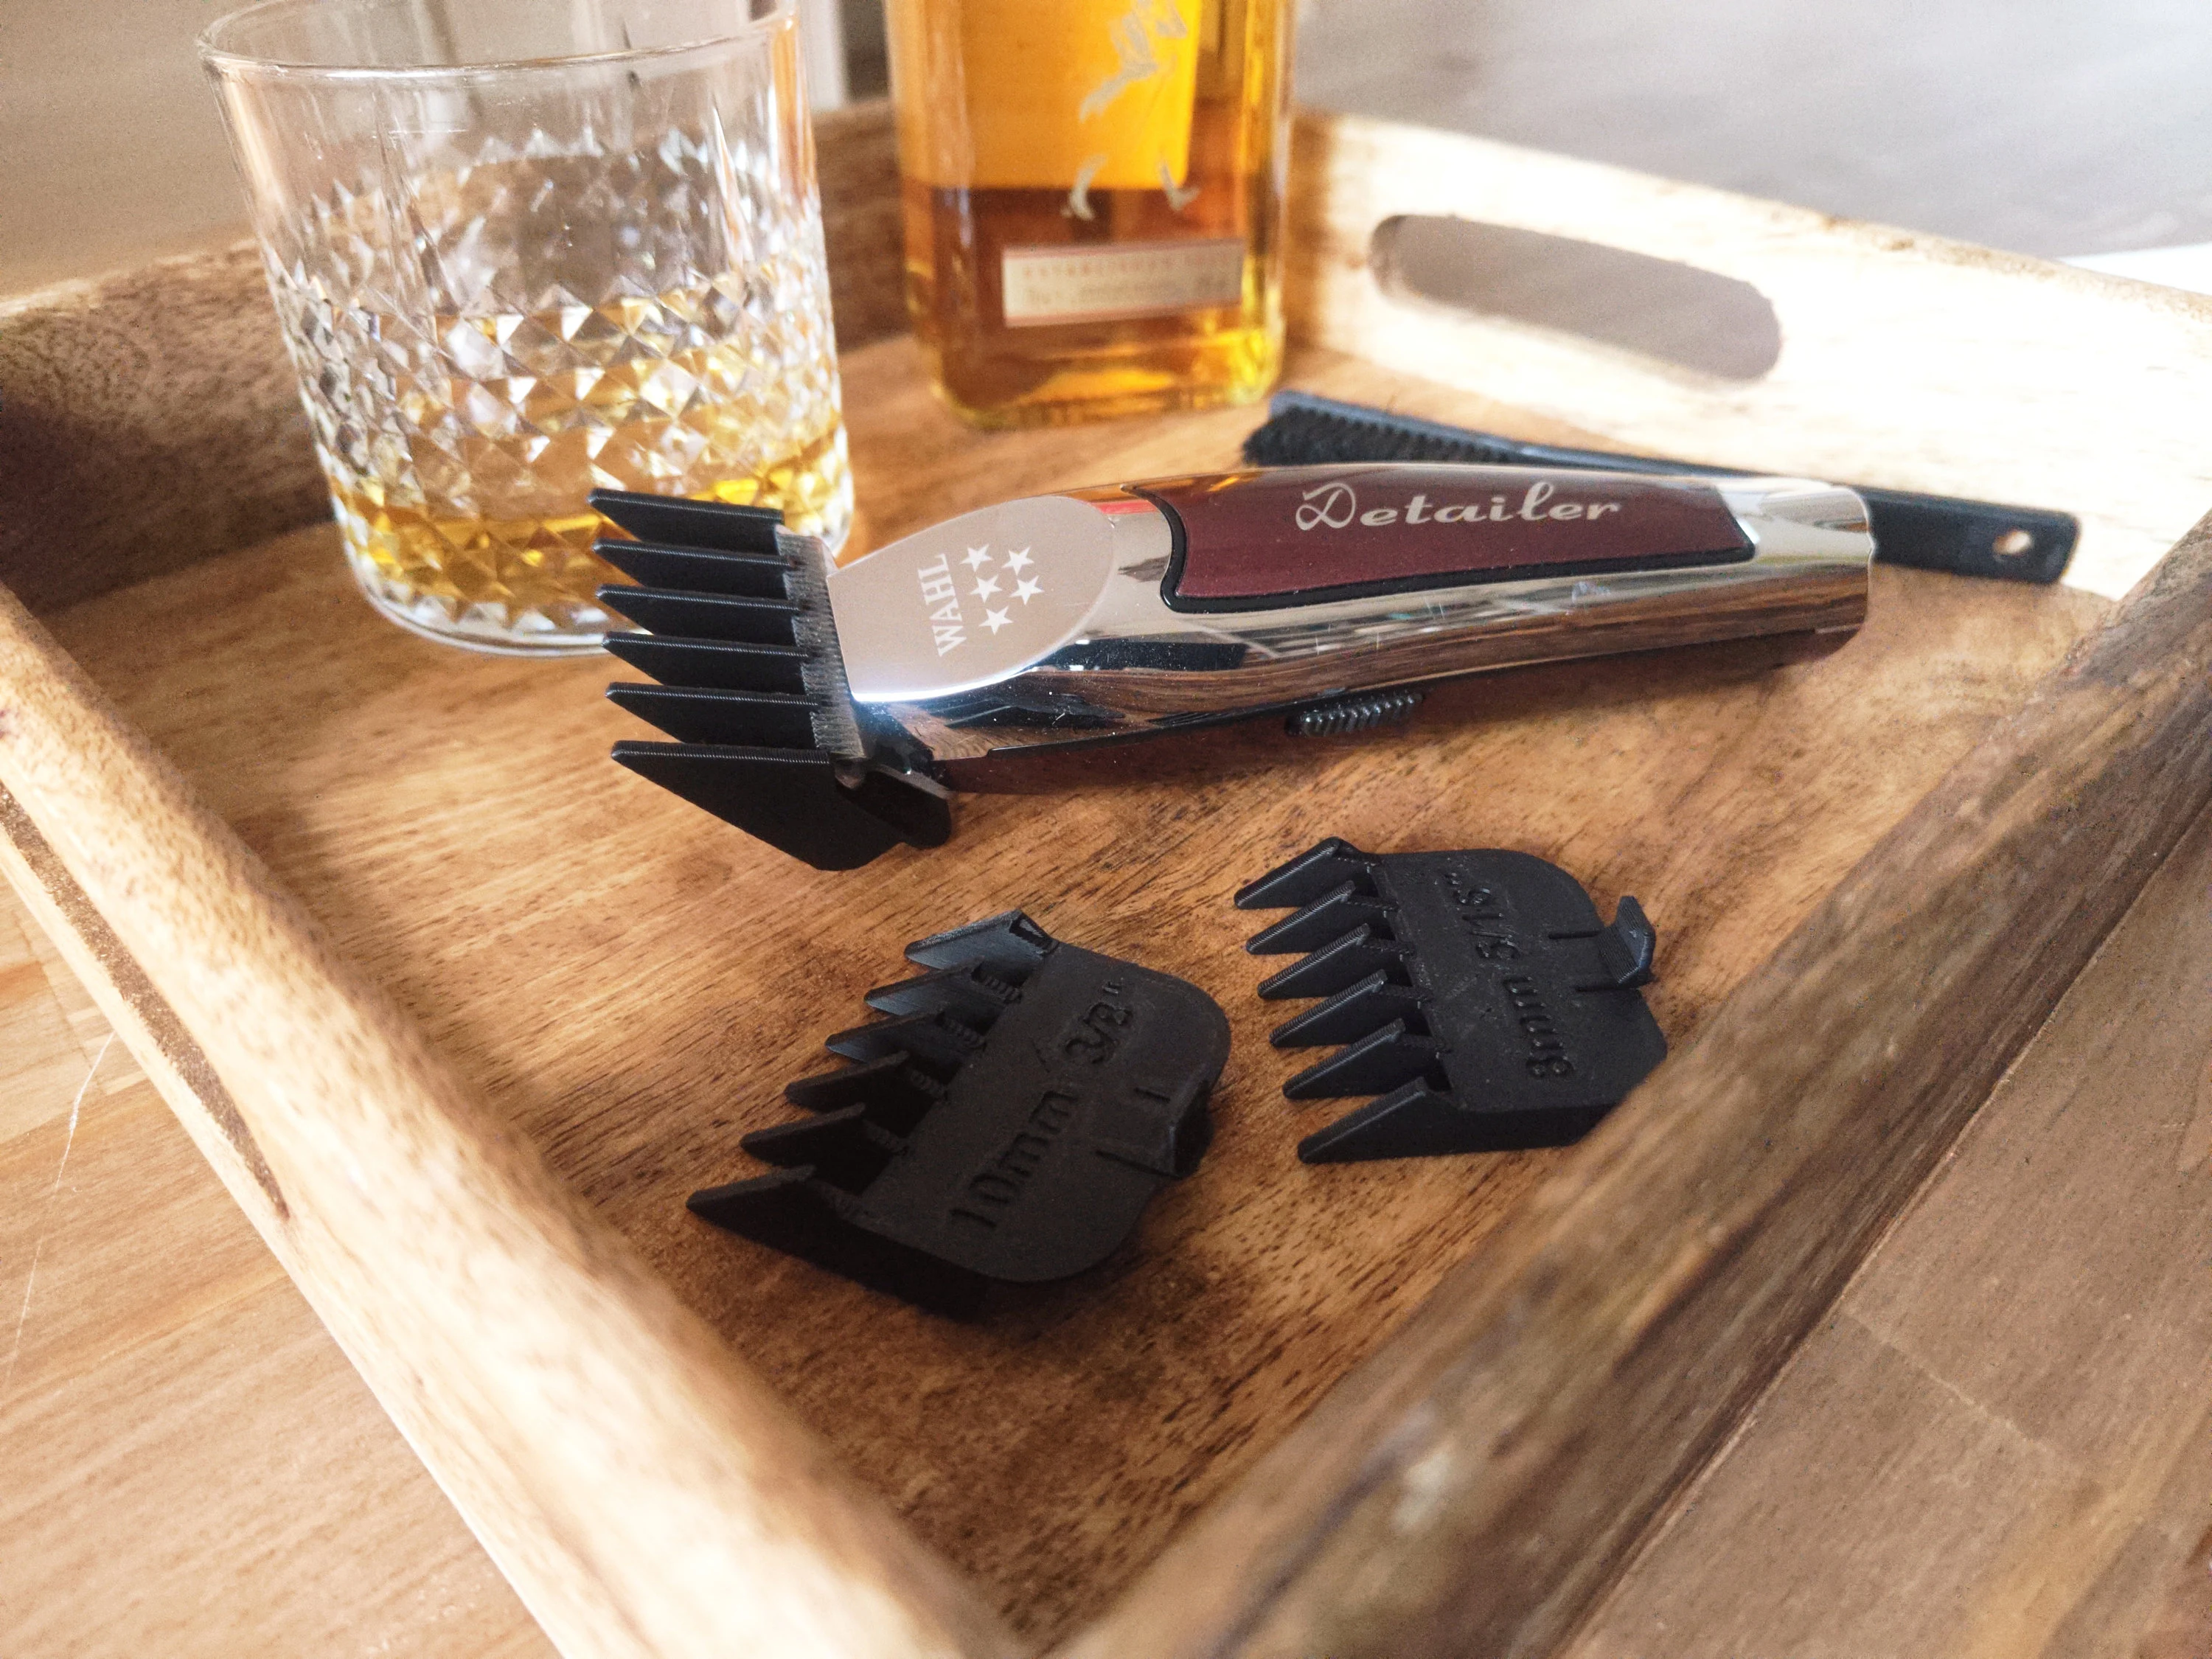
The essentials
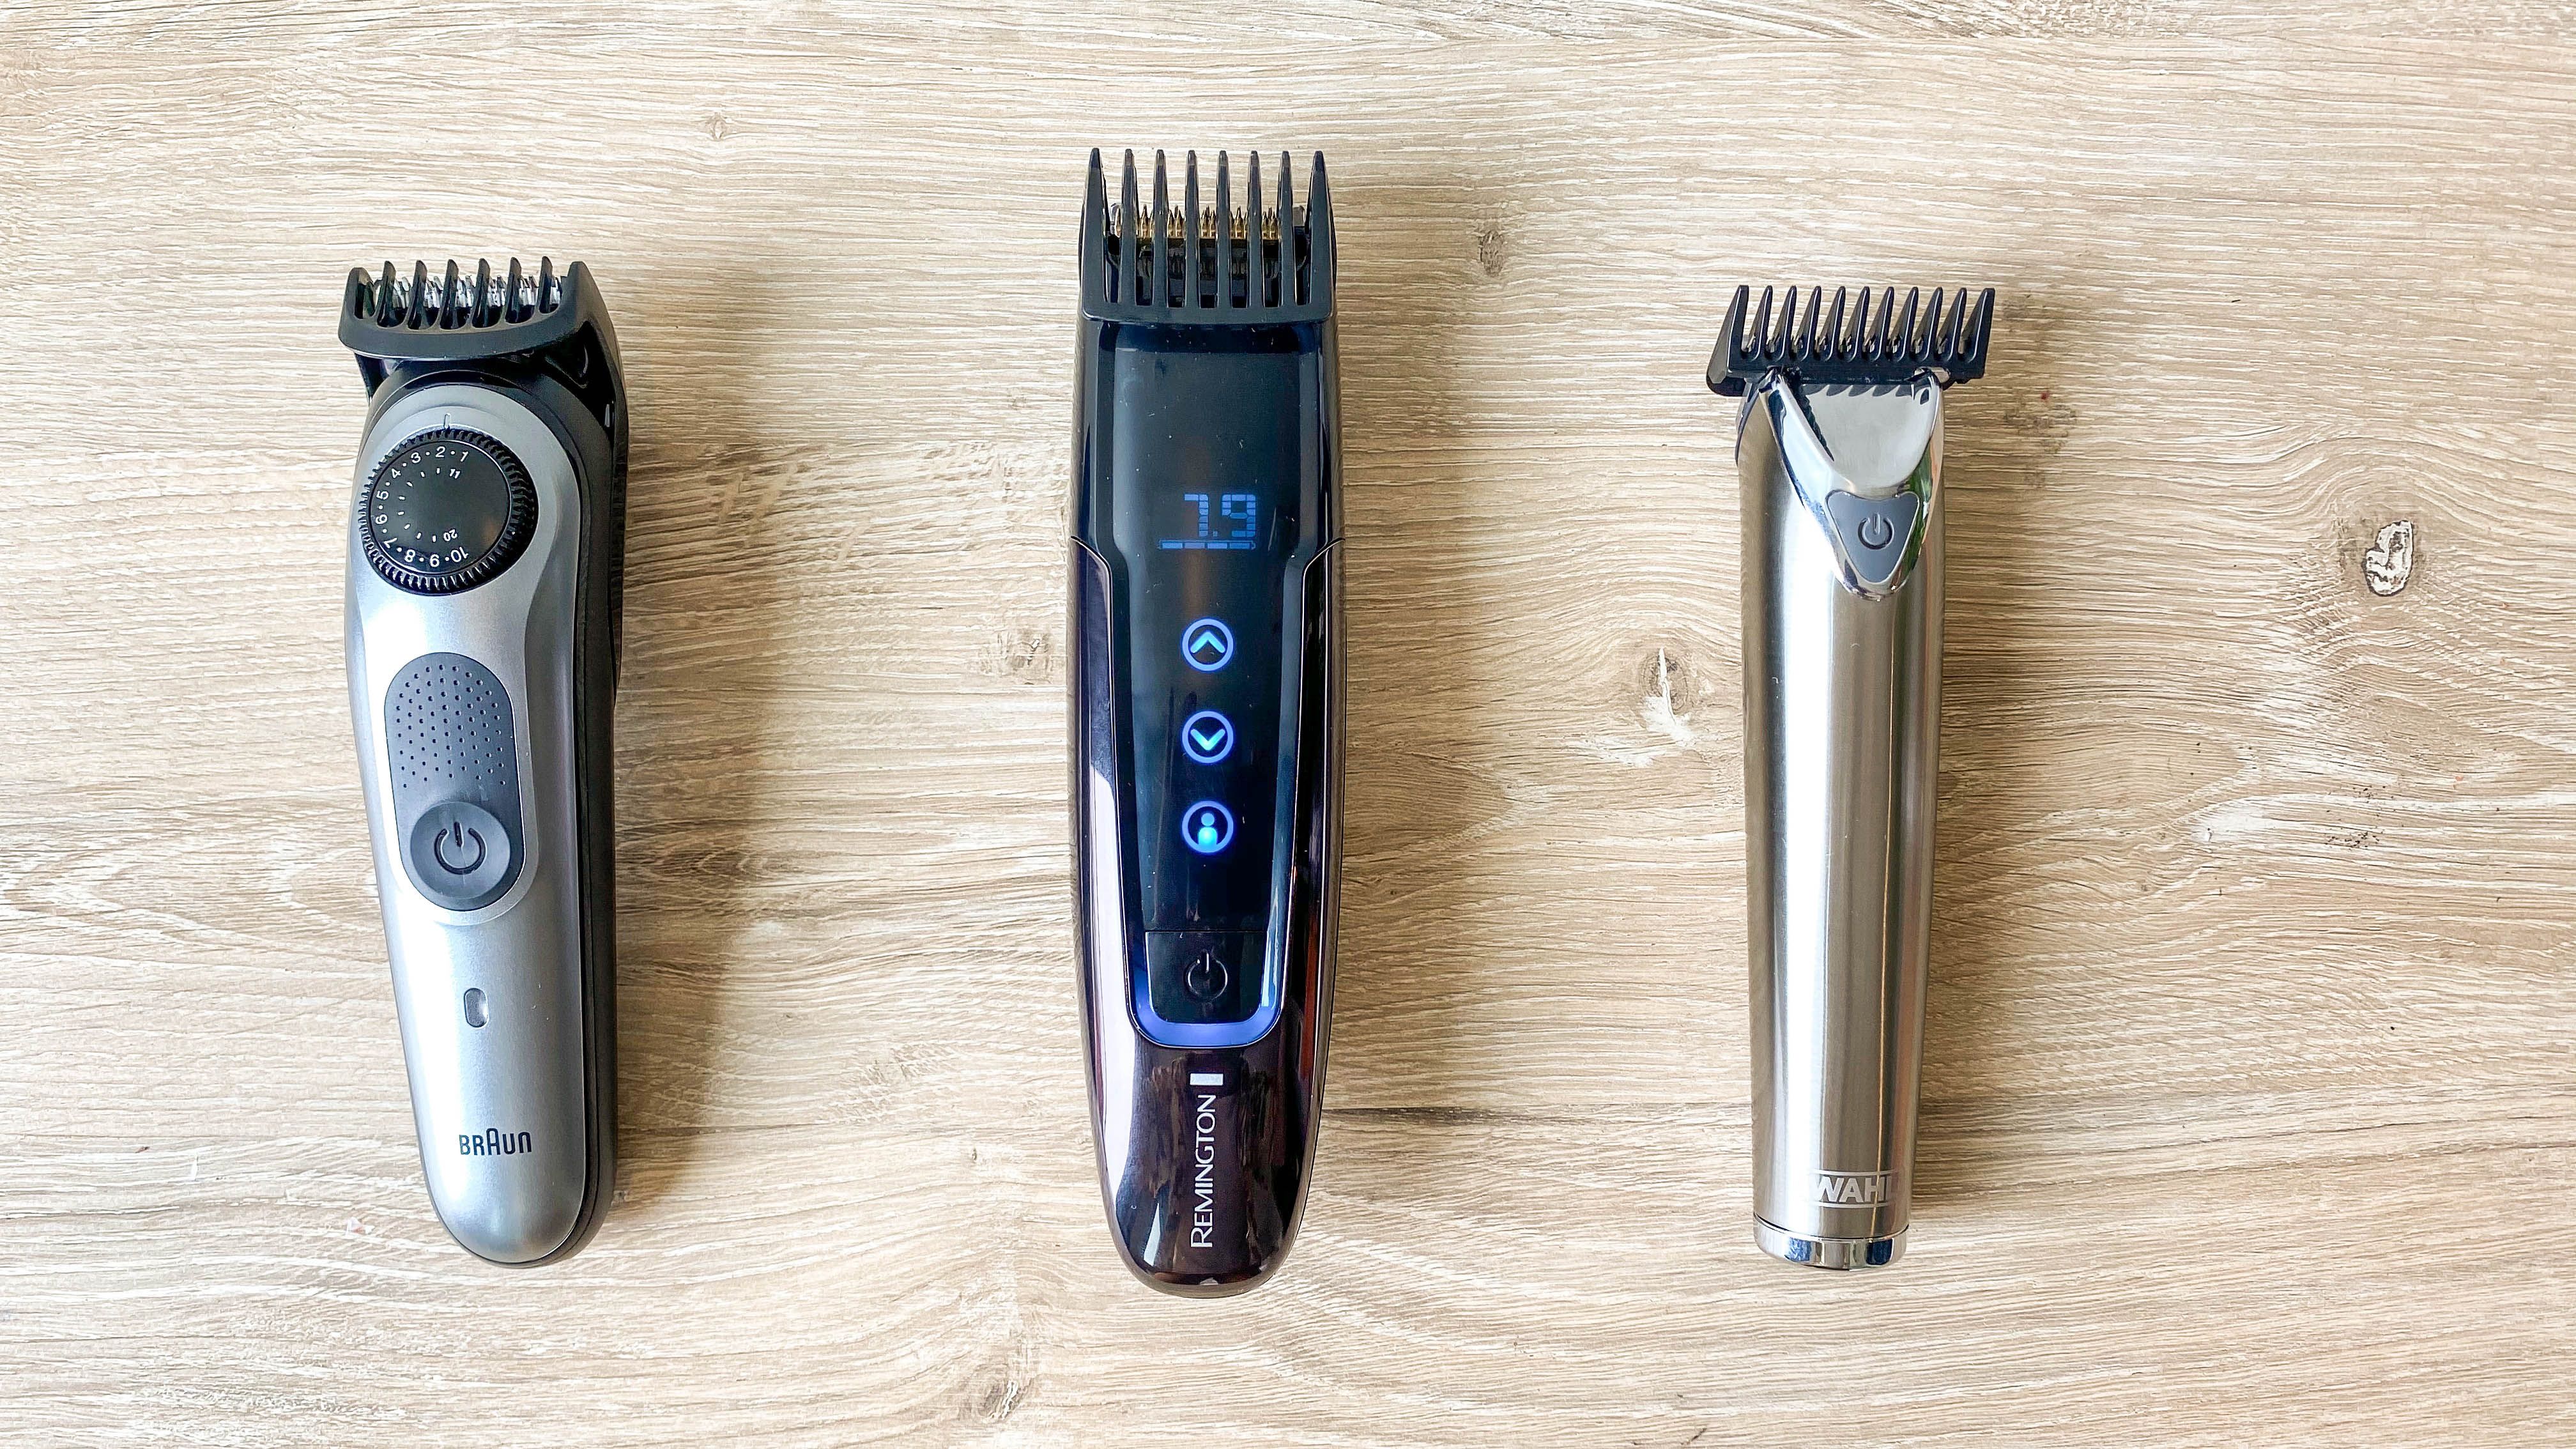
- Beard trimmer with adjustable guards (or a few fixed guards)
- Beard scissors (small, sharp, preferably with a slightly rounded tip)
- Beard comb or a small brush (boar bristle is great for training hair)
- Mirror with good lighting, plus a second mirror if you can swing it for side angles
- Cleanser and towel (and a sink you can rinse easily)
- Beard oil or beard balm (oil for softness, balm for light hold)
Nice-to-have
- Detail trimmer for crisp lines (especially if you like a sharp cheek line)
- Transparent shaving gel if you shave your neckline and want visibility
- Fragrance-free moisturizer if your neck gets reactive
Skip for now: razors for major shaping if you are a beginner. A trimmer gives you a safety buffer while you learn your lines.
Before you trim: set up for symmetry
Beard trimming is half technique, half setup. If your prep is messy, your lines will be, too.
1) Wash and dry your beard
Clean hair behaves more predictably. Wash with a gentle cleanser or a dedicated beard wash, then towel-dry thoroughly. Wet hair can clump or stretch and it makes length harder to judge, so you are more likely to take off more than you meant to.
2) Detangle and reset the pattern
Comb your beard down and out in the direction it grows. If your beard grows in swirls or cowlicks, brush it the way you usually wear it so your trim matches real life, not an ideal scenario.
3) Pick your goal in one sentence
Try: “I want it shorter but still full,” or “I want cleaner edges and a defined jaw,” or “I want to grow it out but keep it tidy.” That one sentence keeps you from chasing perfection and trimming yourself into regret.
The step-by-step trim
Here is the order I recommend because it prevents overcutting: bulk first, then shape, then detail.
Step 1: Choose a starting length
If you are unsure, start with a longer guard than you think you need. You can always go shorter. You cannot put it back without waiting a few weeks and practicing emotional resilience.
- Short beard: typically 2 to 6 mm
- Medium beard: typically 6 to 12 mm
- Longer beard: 12 mm and up, usually with more scissor work
Note: Guard lengths vary by brand and beard texture. Use these as starting points, not laws.
Trim your whole beard with that guard first, moving slowly and evenly. Keep the trimmer flat against the face and use light pressure.
Step 2: Taper cheeks to jaw
Most beards look best when they are slightly shorter on the cheeks and a touch fuller at the jaw and chin. This gives structure and avoids the “helmet” effect.
- Use a slightly shorter guard at the sideburns and upper cheeks.
- Fade down toward the jaw so the change is gradual, not a hard ledge.
- Keep your original length on the jaw and chin.
Think of this like tailoring: you are shaping the silhouette, not removing the whole garment.
Step 3: Clean the neckline
A clean neckline makes your beard look intentional even if you did nothing else. The biggest mistake is trimming too high, which shrinks your jaw visually and can make the beard look perched.
A good starting point: place two fingers above your Adam’s apple. The top finger is roughly where your neckline can sit.
Another easy check: look straight ahead with a neutral chin and find the point where the underside of your jaw naturally turns into your neck. Your neckline usually lives just below that transition, not up on the jaw itself.
How to set the line:
- Look straight ahead, chin neutral (do not lift your chin high, it changes the line).
- Imagine a gentle U-shape from just behind the jaw angle near the ear to the other side.
- With no guard (or a very close setting), trim below that line.
- If you prefer shaving, shave only the area below the line, then rinse and moisturize.
Step 4: Define the cheek line
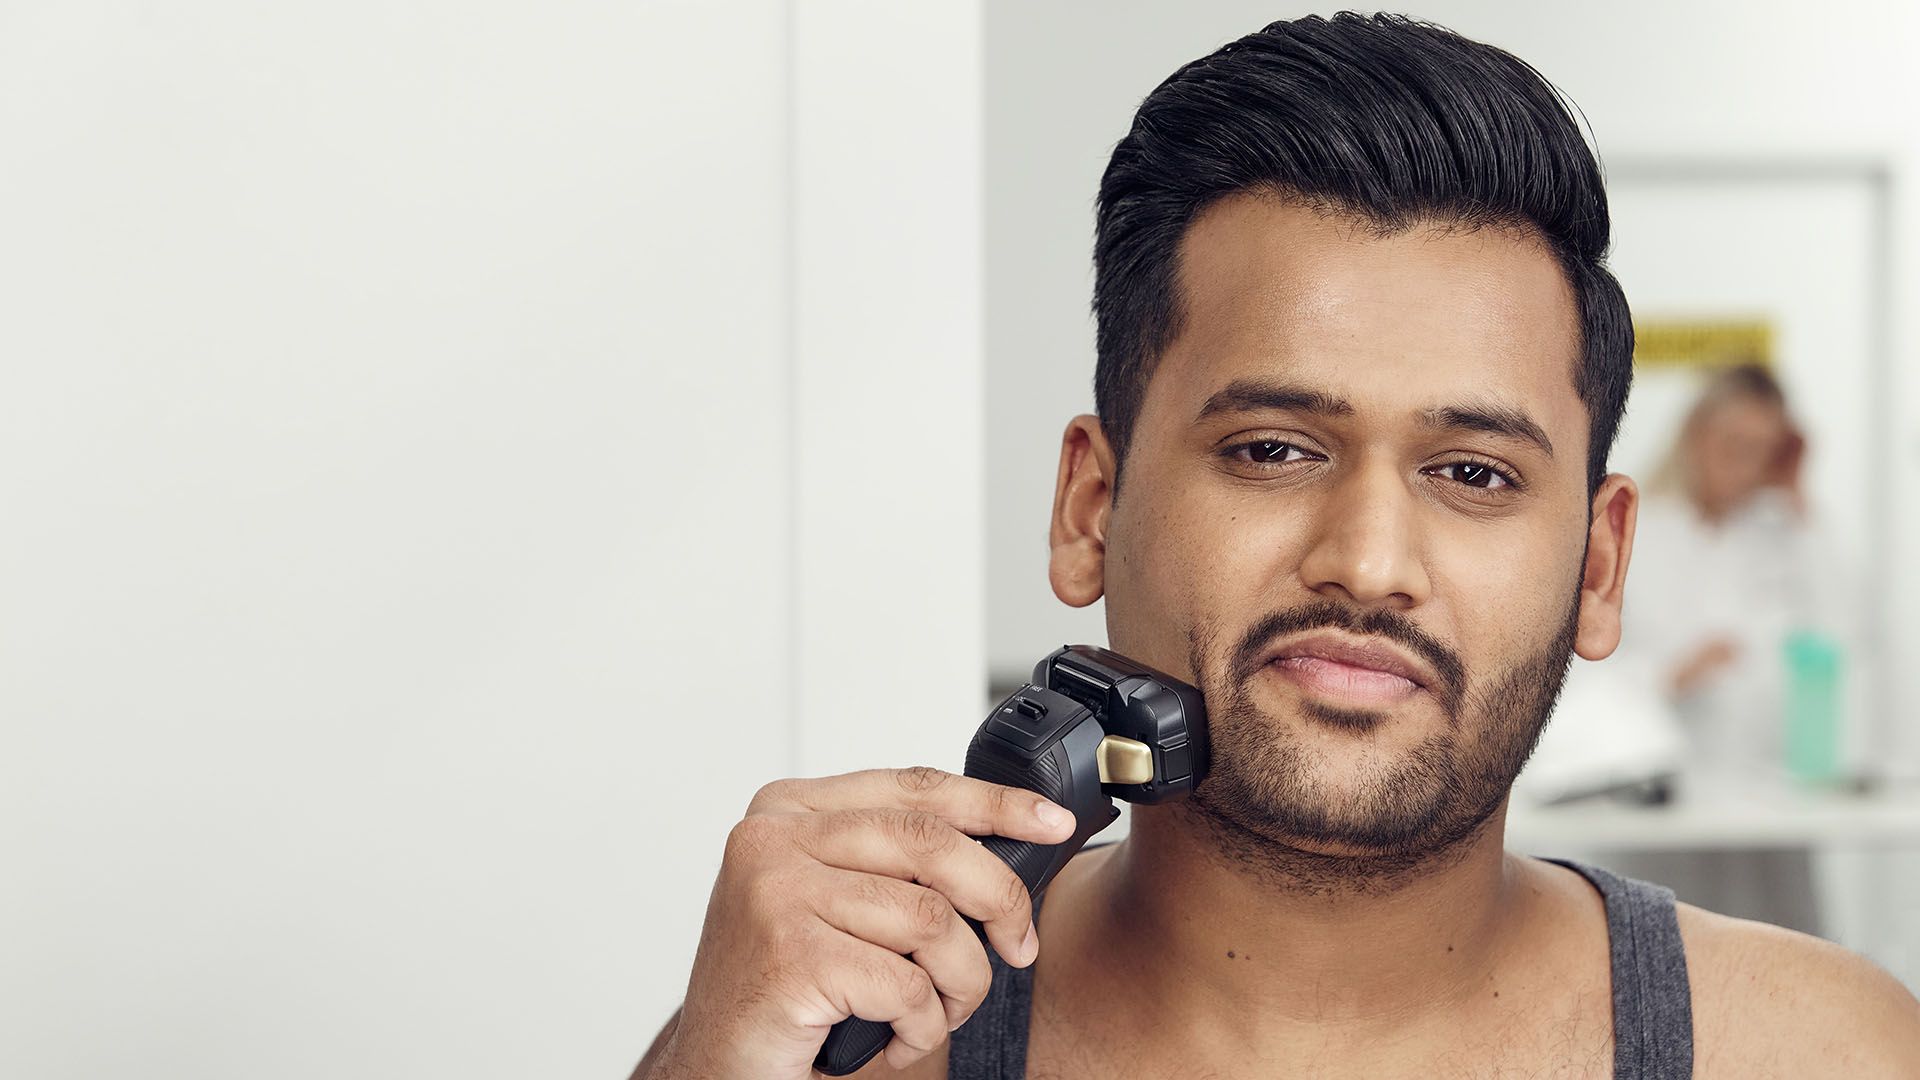
You have two flattering options, and neither requires a perfect ruler-straight line.
- Soft cheek: trim stray hairs above your natural line. This looks relaxed and modern, and it is very forgiving.
- Sharper cheek: create a cleaner edge by trimming a line that follows your natural growth and cheekbone.
Stylist tip: Do not carve a new cheek line dramatically lower than where your hair naturally grows unless you are committed to frequent maintenance. A beard that needs constant babysitting is not the vibe.
Step 5: Detail the mustache
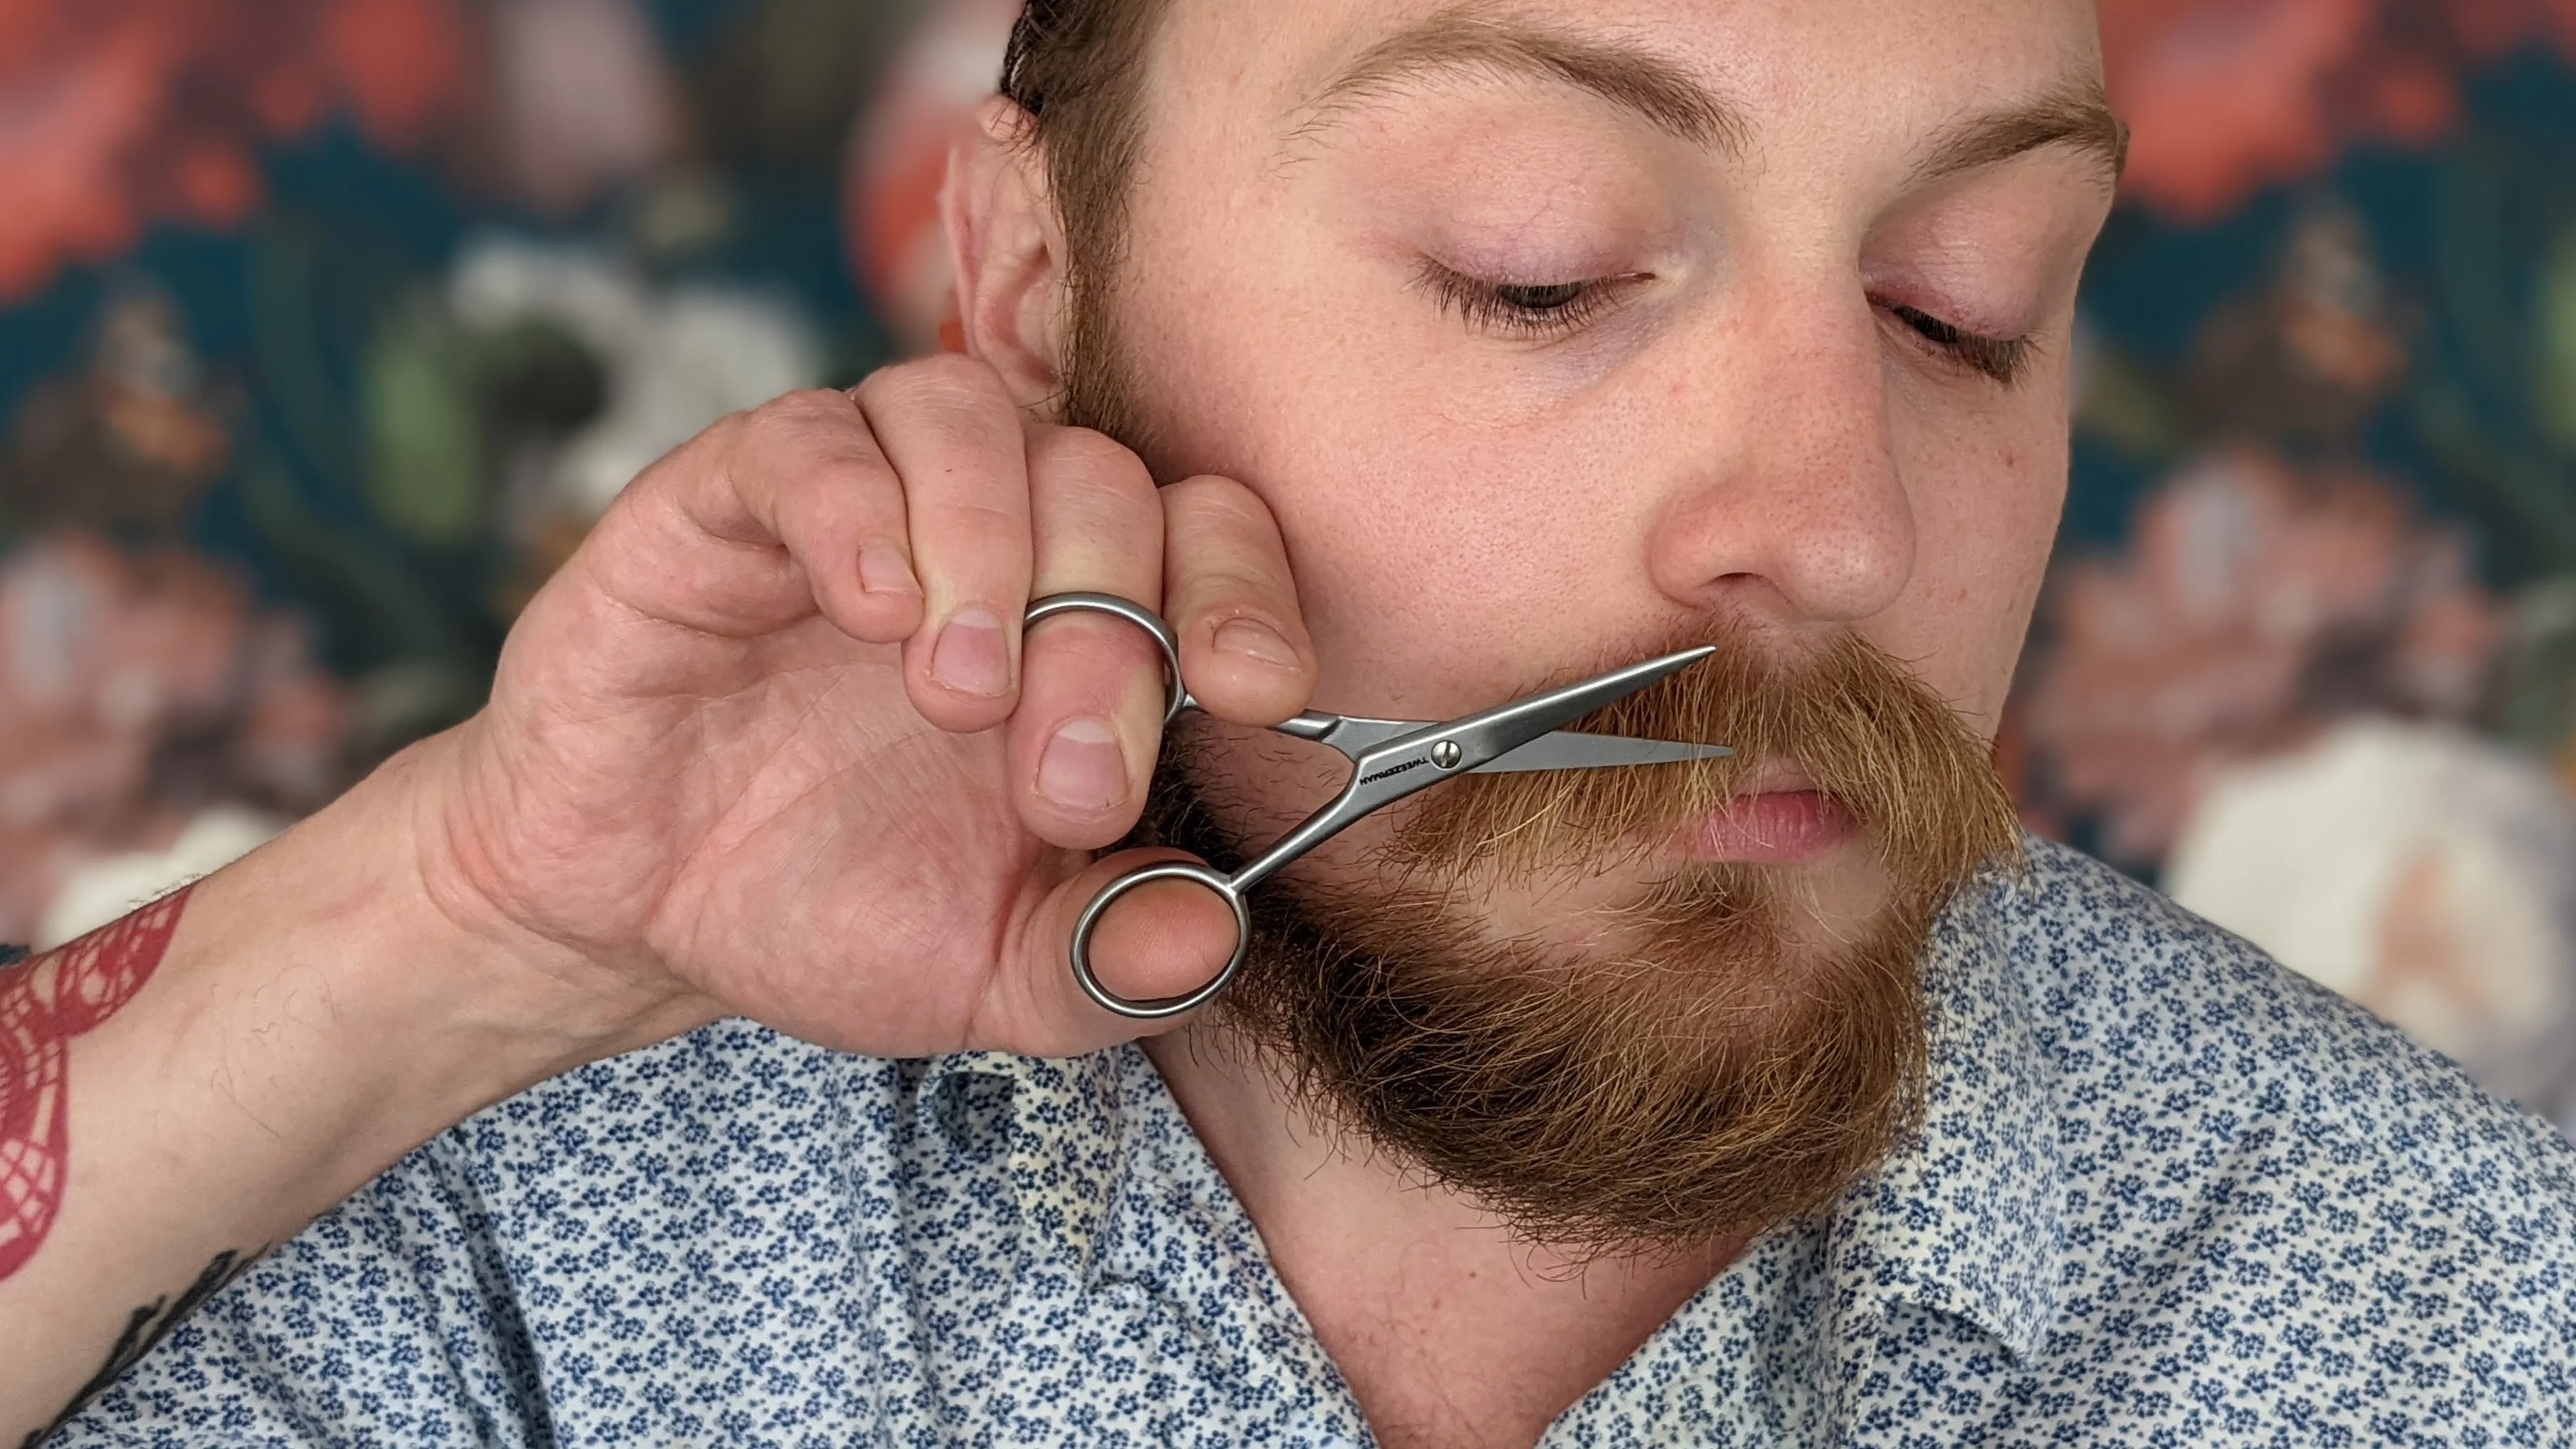
Comb the mustache straight down, then use scissors to snip only the hairs that hang over your lip. Keep the scissors parallel to your lip line and take tiny cuts. If you want a fuller mustache, trim less and train it with balm instead.
Step 6: Snip flyaways and split ends
Scissors are for precision, not bulk removal. Comb a section, then snip only what extends past the shape you want. This is especially helpful along the jaw and chin where hair can look uneven even after trimmer work.
Step 7: Check balance
Step back from the mirror. Turn your head left and right. Use a second mirror or your phone camera to see the profile. Your beard should look balanced, not identical. Faces are not perfectly symmetrical, and that is normal.
Guard technique basics
This is where beginners accidentally go too short.
- With the grain (following growth direction) usually leaves a little more length and looks softer.
- Against the grain cuts closer and can remove more than you expect, especially on the cheeks and under the jaw.
- If you are new, do your first pass with the grain, then refine slowly where you truly need it.
Adjust for your beard type
Curly or coily
Expect shrinkage. A curly beard can look shorter once it dries and springs back, so go slower and stay longer on the first pass. Use low heat if you blow-dry and keep the airflow moving to avoid dryness.
Sparse or patchy
A softer cheek line is your best friend. Keeping a touch more length overall can help patchy areas blend. Consider leaving extra fullness at the chin to create structure where it counts.
Longer beards
Lean more on scissors. Trimmers are great for bulk, but the cleanest long-beard shape often comes from combing sections and snipping only what breaks the outline.
Finishing steps
The trim is only half the story. The finish is what makes your beard look touchable and cared for.
Beard oil: when and how much
Apply oil to a clean, dry or slightly damp beard.
- Short beard: 2 to 3 drops
- Medium beard: 3 to 6 drops
- Long beard: 6 to 10 drops, depending on density
Rub between your palms, then work it into the skin under the beard first (hello, itch relief), then smooth through the lengths. Finish by combing to distribute evenly.
Oil vs balm vs butter
- Oil: best for softness, shine control, and skin comfort
- Balm: adds light hold and helps tame flyaways
- Butter: richer conditioning, usually less hold than balm

Common mistakes
You took too much off
Happens to the best of us. Even it out with a slightly shorter guard across the beard, or embrace a shorter reset and focus on clean lines while it grows back.
Your neckline is too high
Stop trimming it further and let it grow down for a week or two. In the meantime, keep the area just below your intended line tidy so it still looks clean.
Patchiness looks more obvious after trimming
Often it is a length issue. Going a little longer can help patchy areas blend. You can also keep cheeks slightly shorter and leave more length at the chin to create fullness where it counts.
Your beard looks puffy
Try a taper (shorter on upper cheeks, fuller at jaw), then use balm and a brush to train the hairs downward. A quick blow-dry on low heat while brushing can help, too, just do not scorch your face.
Maintenance schedule
Between barber visits, consistency beats intensity.
- Daily: quick brush or comb, oil or balm as needed
- 2 to 3 times per week: wash beard (adjust up or down depending on dryness, oiliness, workouts, and climate)
- Weekly: clean neckline and snip obvious strays
- Every 2 to 4 weeks: full trim and shape refresh
FAQ
Should I trim my beard wet or dry?
Dry is safer for most people because you see the true length. Wet hair can clump or stretch and it makes it easier to over-trim.
How do I choose the right guard length?
Start longer than you think, do a full pass, then reassess in good lighting. If you want shorter, go down one guard at a time. Slow is fast here, and guard systems differ by brand.
How do I keep my beard from itching?
Itch is often dry skin under the beard. Wash gently, rinse thoroughly, pat dry, then use beard oil and massage it into the skin. If flakes persist, consider a mild exfoliant for the skin (not the beard hair) a couple times a week.
What if I want a super sharp line?
Use a detail trimmer and set your line conservatively first. You can always sharpen more. If you are using a razor, use a clear gel so you can see the edge and moisturize afterward to avoid irritation.
If you remember nothing else: start longer, trim in the right order, and treat your neckline like the hem of your favorite trousers. A little intention changes everything.