Beach waves are the hairstyle equivalent of a perfectly broken-in blazer: relaxed, flattering, and somehow more polished than it has any right to be. And like great style, the secret is not the price tag or the tool. It is technique.
Whether you own a curling iron, a flat iron, or whatever was on sale when your last tool died mid-week, you can get that airy, lived-in bend. I will walk you through both methods step by step, plus the prep, finishing, and tiny tweaks that make waves look modern instead of pageant-y.
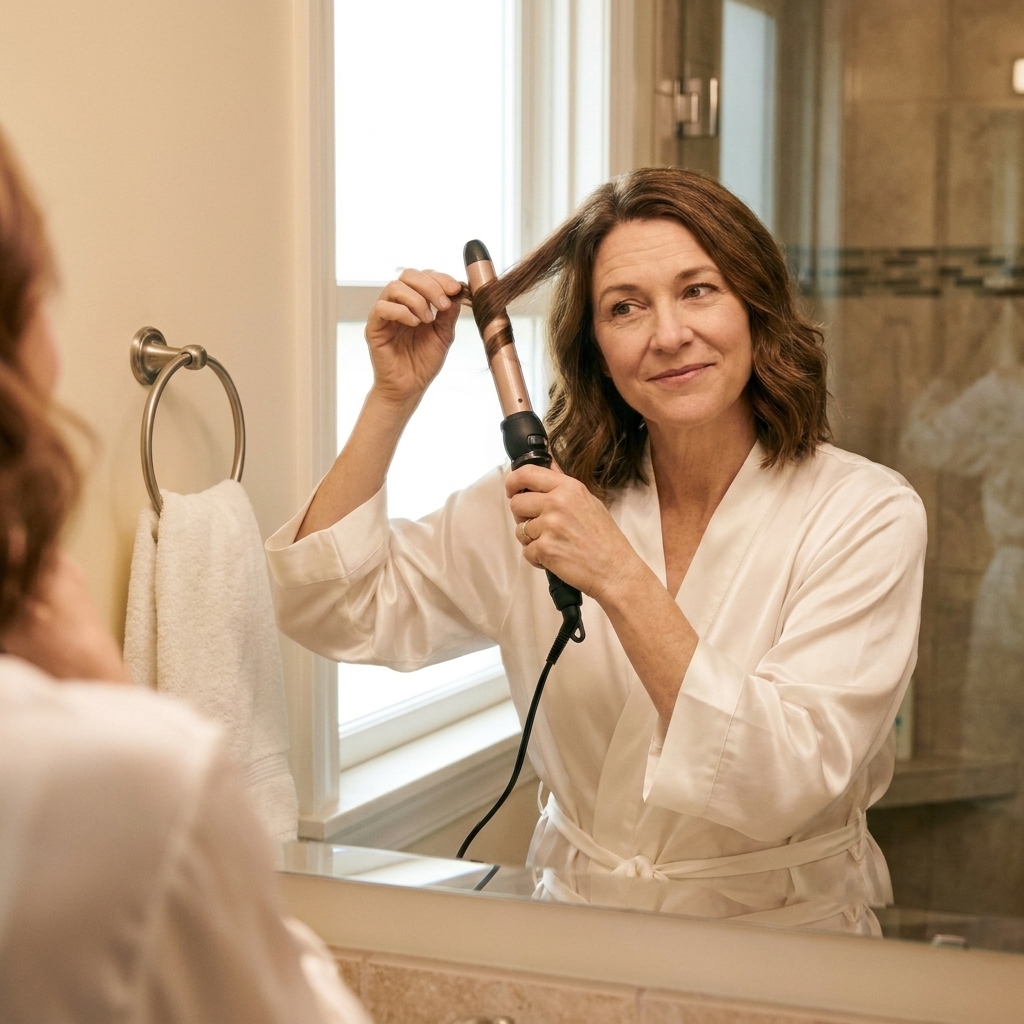
Before you start: the prep that makes waves last
I know prep is the part everyone wants to skip, but this is where the magic lives. Beach waves should feel touchable, not sticky or crunchy, so we are going for light structure and smart heat protection.
Start with the right base
- Day 1 hair: Blow-dry smooth-ish, not flat. If your hair is freshly washed and ultra-slippery, add a little texture first.
- Day 2 hair: Often ideal because a bit of natural grit helps waves hold. If your scalp gets oily or your lengths go limp, refresh with dry shampoo at the roots and a quick re-blow-dry at the crown.
- Very fine hair: Add a light mousse at the roots and mid-lengths, then rough-dry (blow-dry with your fingers until hair is about 80 to 90% dry).
- Thick or coarse hair: Use a smoothing cream from mid-lengths to ends so the wave looks glossy, not fuzzy.
Use heat protectant like it is non-negotiable
Beach waves look best when your ends stay healthy. Mist heat protectant through your hair, then comb it through so it is evenly distributed. Pay special attention to the last 3 inches.
Safety note: Use the lowest heat that gives you a lasting wave, and aim for one smooth pass per section. If you feel tempted to keep going over the same piece, turn your heat up slightly (within reason) or take smaller sections instead of stacking damage.
Choose a hold product based on your hair type
- Fine or straight hair: A light styling spray or setting spray before heat helps.
- Wavy hair: A texture spray after heat is usually enough.
- Curly or thick hair: A flexible hairspray before and after gives staying power without stiffness.
Clara note: If your waves always fall out, it is usually one of three things: heat too low, sections too big, or you are touching the curls too soon.
Brush and comb basics
- Before heat: Use a paddle brush or detangling brush to get sections smooth without snagging.
- After cooling: Use your fingers or a wide-tooth comb for separation. Skip boar bristle if you want piecey texture since it can make waves look too “brushed out.”
Curling iron beach waves
A curling iron is the most intuitive tool for beach waves because the barrel does the shaping for you. The key is to avoid uniform ringlets. We want irregular bends and varied direction so it looks effortless.
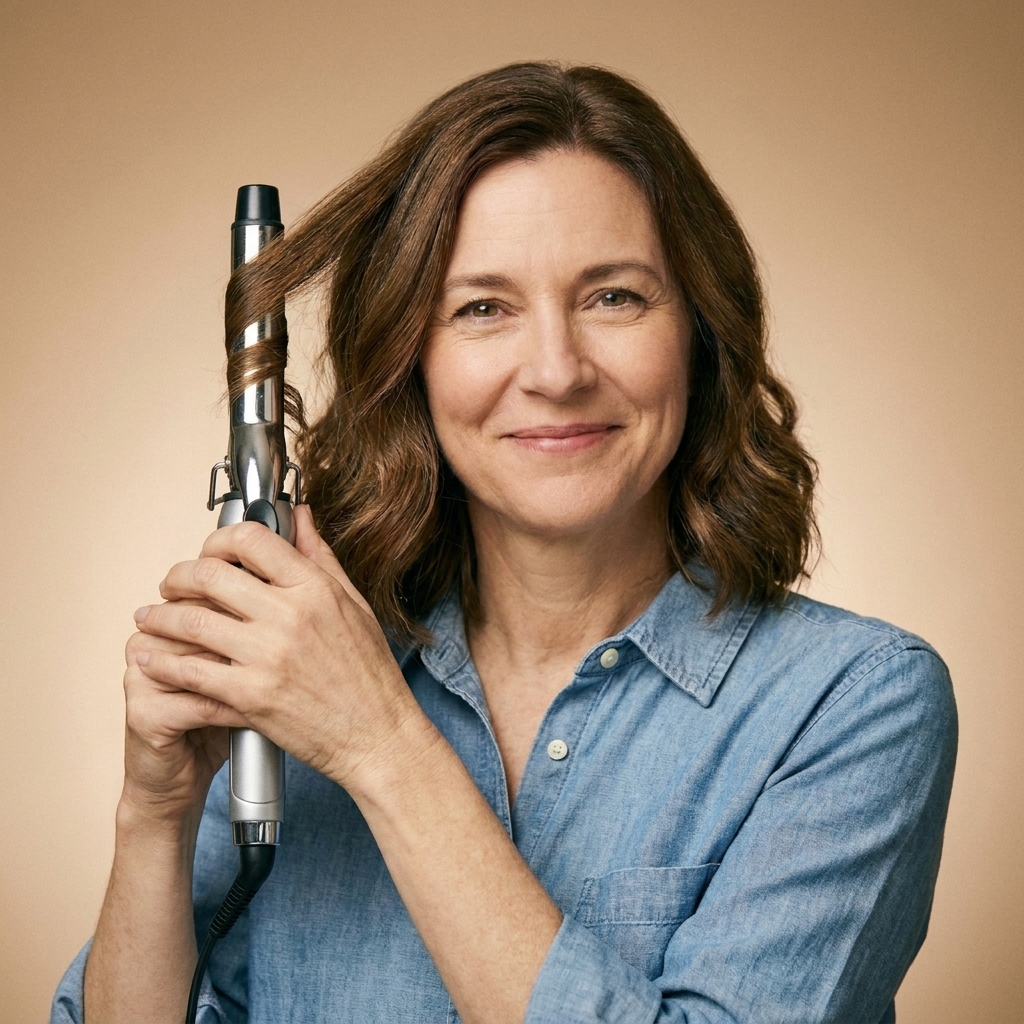
Best barrel size for beach waves
- Short hair (chin to collarbone): 0.75 to 1 inch barrel.
- Medium hair (shoulder to chest): 1 to 1.25 inch barrel.
- Long hair (past chest): 1.25 to 1.5 inch barrel for looser, longer-lasting movement.
If you only own a 1 inch iron, you can still do beach waves on long hair. Just use larger sections and leave more of the ends out.
Step-by-step: curling iron beach waves
- Section your hair. Part how you normally wear it. Then split into 2 to 3 horizontal layers (bottom, middle, top). Clip the rest up.
- Set your heat. Fine or damaged hair: 275 to 320°F. Medium hair: 320 to 360°F. Thick or coarse hair: 360 to 390°F. Try to stay at or below 400°F unless your hair is very coarse, very healthy, and truly needs it.
- Start at the bottom layer. Take a 1 inch section (smaller for stubborn hair).
- Hold the iron vertically. Tip pointing down. If you have a clamp iron, keep the clamp facing forward. If you are using a wand, same idea: hold it vertical and wrap the hair around the barrel.
- Alternate direction. Wrap one section away from your face, the next toward your face, and keep alternating. This is the easiest trick for undone texture.
- Leave the ends out. Wrap from mid-shaft, but leave the last 1 to 2 inches uncurled. That straight end is what makes it beachy.
- Hold just until warm-through. Usually 3 to 8 seconds depending on your heat and hair type. Fine or damaged hair needs less time. Release gently into your palm for a second, then let it drop. Try not to yank or shake the curl.
- Repeat up the head. On the top layer, curl away from the face on both sides for a soft, open look around your cheekbones.
Finish: how to make curls look like waves
- Let everything cool. Cooling sets the shape. Give it 3 to 5 minutes.
- Break it up. Use your fingers or a wide-tooth comb, starting at the ends and moving up slightly.
- Add texture strategically. Spray a texturizing spray at the mid-lengths, then scrunch once. Do not drench.
- Seal with flexible hold. A light mist of hairspray from 10 to 12 inches away keeps movement without helmet vibes.
If your waves look too done, you probably curled too close to the roots or used sections that were too perfect. Move the curl start point down an inch and vary your section size slightly. Real beach hair is never symmetrical.
Flat iron beach waves
A flat iron wave is more of a bend than a curl, which is why it reads so modern. It is also wildly practical if you travel or you only own one tool. Once you learn the wrist motion, you can create soft S-waves, piecey texture, or looser glam waves by changing your angle.
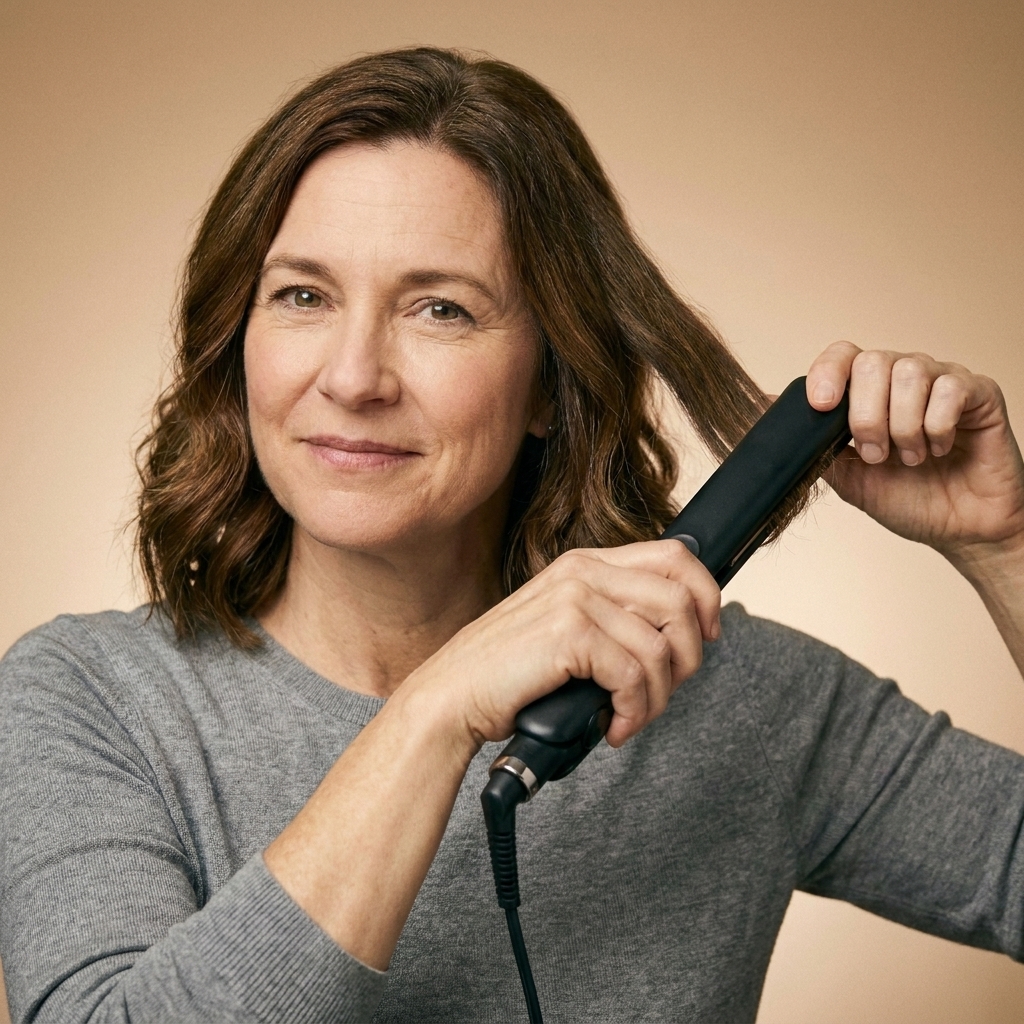
What flat iron works best
- Plate width: 1 inch is the sweet spot for most hair lengths. Wider irons can work on long hair but are trickier near the face.
- Plate shape: Rounded edges glide better and prevent harsh creases.
- Temperature control: Helpful, especially if you have fine hair.
Step-by-step: flat iron beach waves
- Section your hair. Same idea as curling iron: work in layers for consistency.
- Set your heat. Fine or damaged hair: 260 to 320°F. Medium hair: 320 to 360°F. Thick or coarse hair: 360 to 390°F. Keep it under 400°F for most hair types unless you truly need more.
- Take a 1 inch section. Brush it once so it is smooth.
- Clamp at mid-length. Not at the root. Starting lower keeps it effortless and avoids puffiness. Rough guide: start around cheekbone level for a looser wave, or around jaw level for a more obviously beachy bend.
- Rotate the iron 180 degrees. Turn it away from your face, so the hair wraps once around the outside of the iron.
- Glide slowly downward. Keep gentle tension and move at a steady pace. Too fast gives no wave. Too slow can crease or overheat.
- Make an S. For a more beachy S-wave, move down a few inches, then rotate the iron slightly the opposite way and keep gliding. Think of drawing a soft S down the strand.
- Leave ends more straight. As you reach the last inch, loosen your grip and glide out faster.
- Alternate direction. Switching directions prevents uniformity. For the face-framing pieces, go away from the face for that open, expensive look.
Quick length tweaks
- Short hair (bob to lob): Use smaller sections and smaller bends. Start the wave a little higher (closer to cheekbone) and keep the S subtle so you do not end up with a triangle shape.
- Long hair: Use slightly larger sections and a longer S pattern. Start the first bend lower (jaw to collarbone area) so the wave reads relaxed, not prom-curl.
Finish: polish without losing texture
Flat iron waves can look shiny and fresh, which is lovely, but beach waves need a touch of grit.
- Cool first. Again, do not touch until cool.
- Rake, do not brush. Use fingers to separate and soften.
- Add dry texture at the roots and mid-lengths. Lift hair and spray lightly underneath, then scrunch once.
- Optional: A pea-sized amount of lightweight hair oil on the very ends makes it look expensive in the best way.
Clara note: If your flat iron waves ever look too polished, it is not a failure. It just means you need one more step of texture at the mid-lengths, plus a little more finger separation.
Curling iron vs. flat iron
Both can get you there. The difference is the type of wave and the learning curve.
- If you want a more defined wave: Curling iron tends to hold shape longer and gives that classic loose curl turned wave effect.
- If you want a cooler, bendier texture: Flat iron waves look more relaxed and slightly more editorial, especially on shorter hair.
- If you are new to styling: Curling iron is often easier to control at first.
- If you only want one tool: Flat iron wins for versatility since you can straighten, smooth ends, and create bends.
Common beach wave problems
My waves fall out in an hour
- Use smaller sections and a slightly higher heat setting (within a safe range).
- Prep with a light setting spray before heat.
- Let waves cool fully before breaking them up.
- Finish with flexible hairspray, then a tiny bit of texture spray.
It looks too curly, not beachy
- Start your curl lower, around cheekbone to jaw level.
- Leave more ends out (2 inches instead of 1).
- Finger-comb more thoroughly once cooled.
- Use a larger barrel or take larger sections if using a curling iron.
I get weird dents or creases
- With a flat iron, keep the glide smooth and do not stop mid-strand.
- Make sure your plates are clean and your section is brushed.
- Do not clamp too tightly. Gentle tension is enough.
The top looks flat
- On the top layer, start waves a little closer to the root, but still not right at the scalp.
- Add a root-lift spray or a little dry shampoo at the crown.
- Flip your part for 30 seconds after styling, then flip back.
My ends look fried
- Lower the heat and reduce passes. One smooth pass is better than three hurried ones.
- Use a heat protectant and consider a weekly conditioning mask.
- Stop styling the last inch if it is fragile. Straight ends are part of the look.
My five-minute beach wave routine
For days when you want the vibe without the full production, this is the shortcut I used constantly when I worked visual merchandising shifts and had exactly one iced latte worth of time.
- Do just the top layer and the front pieces.
- Alternate direction, leave ends out.
- Let cool while you get dressed.
- Finger-comb, then add texture spray at the mid-lengths.
FAQ
Do beach waves work on short hair?
Yes. Flat iron waves are especially cute on bobs and lobs because they create that soft bend. Use smaller sections and keep the motion subtle.
What direction should I curl?
Alternate direction throughout, then curl the very front pieces away from the face. That mix is what keeps it from looking too matched.
Should I use hairspray before or after?
If your hair is fine or very straight, use a light spray before heat (let it dry for a few seconds), then a flexible mist after. If your hair holds a wave easily, after is usually enough.
Can I do beach waves without heat?
You can get a heatless version with braids or twists overnight, then finish with texture spray. It is softer and less defined, but it is a great low-damage option.
The bottom line
You do not need a perfect tool lineup to get beach waves. You need two things: intentional imperfection (alternate direction, leave the ends out) and patience for the cool-down. From there, it is just choosing the vibe you want: curling iron for a more classic wave, flat iron for that modern bend.
And if your first try looks a little chaotic, welcome to the club. Beach waves are supposed to feel like you lived your life and your hair came along for the story.